On editorial design
and behind-the-scenes of my work
tsokolovskaya.com

Later Ctrl + ↑

How to optimise work on a magazine

I recently told you how I completed a test assignment and got a job at a publishing house, and today I’m going to tell you about preparing my first issue of the magazine.

I looked at the previous designer’s source files and realised this format would be awkward. This is what a folder of one issue looks like:

Each magazine article is in a separate folder, and inside each folder are subfolders with images and fonts and a file with some instructions. It so happened that I was not handed the files correctly. I could not communicate with the ex-designer to clarify anything and could only guess at his processes.

So the first thing I did before starting work was to optimise everything as much as possible.

To do this, I created one InDesign file (ai_temp.indd) in which I configured the following:

  • page header templates,
  • paragraph styles,
  • GREP styles,
  • all the necessary graphics.

Let me explain each of these points in detail.

Page header templates

The periodical has two dynamic elements on all pages and needs to be changed in each issue — the issue number and the headings. These elements are located in the header and footer:

I saved the header in the A-master template, in which I will change the month and publication number. And based on this A-master, I created templates with a header in which I prescribed the possible headings:

So, when starting a new issue, I copy my ai_temp.indd file and change the month and number in the A-Master template. Next, I assign the header template to the pages when starting the new article.

Paragraph styles

To make it easy to work with the text and avoid confusing its layout, I have created all the possible styles in the magazine in the file ai_temp.indd. It looks like this:

Absolutely all styles are based on Basic Paragraph, in which GREP styles are prescribed for correct hyphenation within the text.

GREP styles

To remove dangling characters at the end of a line, I created five hyphenation rules:

  • for prepositions with a lowercase letter: (?<= )((в|во|без|до|из|к|ко|на|по|о|от|перед|при|через|с|у|не|за|над|для|об|под|про|и|а|но|да|или|ли|бы|то|что|как|я|он|мы|они|ни)( |\. |, ))+
  • for prepositions with a capital letter: ((?<= )|(?<=^))((В|Во|Без|До|Из|К|Ко|На|По|О|От|Перед|При|Через|С|У|Нет|За|Над|Для|Об|Под|Про|И|А|Но|Да|Или|Ли|Бы|То|Что|Как|Я|Он|Мы|Они|Ни) )+
  • for numerical values: (?<=\d)(.)
  • for the dash: (?<=) (—)
  • for units of measure: (?<= )((га|гг.|дм|долл|др.|же|кг|мг|мл|млн|млрд|мм|нм|с.|см|стр.|руб.|тыс.)( |\. |, ))+

It looks like this:

I add new values as needed

Graphics

In CC Libraries, I have kept the colour palette and graphic elements that are most common in articles:

There are also icons inside some of the headings. I’ve put them in a separate Illustrator file so that I can edit them:

This way, all the elements are at your fingertips, and you don’t have to search for them every time in old releases and go to the source files to copy them.


Next, I created a new book (New Book) in InDesign for the magazine’s new issue and named it AI_June-07.indb. I copy my file ai_temp.indd and give it the name ai_6-13_sobitiya.indd, where “ai” is agroinvestor, “6-13” — page numbers for a particular article, “sobitiya” — rubric. I added this file to the book and gave it the correct page numbering.

Then I assign the pages a template with the required header and proceed with the layout.

The book format is helpful for multi-page publications if they have chapters or headings. I will discuss this in more detail in a separate post.

Completed a test assignment for a publisher and got the job

I decided that the best way to understand the workings of periodicals was to look at the process from the inside, so since May, I have been working as a layout designer for a business magazine Agroinvestor. This is now my main activity, and the blog posts will focus on it. I will show you how the processes of publishing a magazine are arranged, what is essential in the layout and preparation of the publication for printing, and how to optimise your work from issue to issue.

How I got into publishing

I want to give some confidence to newcomers who wish to work on a periodical. At the time of my job search, I had no experience in this field. Orders for multi-page layouts were, of course, but still, periodicals work differently. After two months of searching, I was interviewed by the chief editor, who gave me a test assignment. To my surprise, even just getting a test assignment proved problematic if you didn’t have the necessary experience. So anything is possible, as long as you keep at it :-)

Test Assignment

The essence of the test assignment is to repeat the current layout. The chief editor sent me a text to be layout and some magazine pages:

Agroinvestor, May 2021

Before starting work, I “deconstructed” the layout and identified the grid, fonts, styles, and bad points I could already correct.

A five-column grid in the body of the article, with the speaker box at the bottom of the page taking on a life of its own and defying any logic:

I recognised the fonts in Adobe Acrobat. I was lucky because they sent me a pdf file, but they could have also sent me a jpeg. This is how I identified all the fonts in the document:

The styles include a three-line drop cap, colour palette, font size and styles for body text, headings, headers, text within illustrations with tables, and line widths in the design.

The unfortunate points caught my eye immediately — the lack of optical alignment and block alignment in general, the holes within the text canvas and, of course, the dangling prepositions. The thinned lowercase also caught my eye, but there’s nothing I can do about them (yet) — they’re design elements:

Highlighted some points

In this post, I won’t describe the layout of the test job itself. I’ll talk about the layout and the nuances at another time. Below are a couple of spreadsheets of my layout:

I sent the final work to the chief editor and told him about the design improvements. A couple of days later, I received an invitation :-)

What else do you need to know about working on a periodical

In addition to being able to layout InDesign, you need to understand the principles of offset printing, prepare images for offset printing, and upload a file for the print shop to meet their requirements. I’ll go on to cover all of this in detail over time.

Magazine layout. Rhythm

Continuing magazine theme :-) I first discovered rhythmic layout in 2016 in the book “Editing by Design” by Jan V. White. It was a revelation because I wasn’t familiar with multi-page layouts. Now I look through the magazines and realise how the rhythm makes the publication interesting and contributes to the study of the magazine.

Composing a publication is like making a movie storyboard — the dynamics and changes of plans are important. The magazine should not be seen as separate pages but as a single organism. If you take a magazine and hang its pages on the wall, preferably in a single line, stand back and look at that line, you can see the overall dynamics.

Elements that influence dynamics

A good dynamic is when the illustrations alternate with text blocks when large elements alternate with small, dark elements alternate with light, and so on. This creates a contrast that prevents the reader from getting bored. Here are some of the elements:

Speed

Movement in the left-to-right direction is faster than in the opposite direction. This is because, as children, we learn to read from left to right. You can control the speed of the movement by alignment and spacing. The closer the elements are to each other, the faster the flow of these elements moves. If the elements overlap each other, the movement becomes even faster and easier:

Shade

Shades allow you to manipulate the distance, how close or far away the objects are. The darker the element, the closer it appears, and vice versa:

Shape

The shapes of the repeating elements can be changed slightly and shifted up or down — this will add dynamics and enhance the impression:

Size

Manipulating size can lead to a decline or, conversely, to growth, to show decay and improvement:

Repetition

The frequency of repetition of elements indicates acceleration or deceleration:

Direction

Upwards direction means improvement and downward direction means decline:

How and where to apply

Dynamic elements can be used in magazines and any publication with more than two pages. They also fit perfectly into web design — websites and applications will become more dynamic and exciting. You can use a single element or several elements at once. The combinations create an amplified rhythmic effect.

Parsing the magazine

I became interested in tracing the rhythm of a real magazine. I chose to research National Geographic magazine and paged it:

The main elements of dynamism in this magazine were shade and size.

Shades. The shades set the main dynamic of the magazine. Light and dark pages alternate throughout the publication. Text pages alternate with photographs and vice versa. This quick change of contrasts keeps the reader interested.

Size. Close-up photos of birds alternate with medium and long-range shots of birds in full size or with more than one bird in the photo. The type of people’s photos changes — large portraits alternate with full-length silhouettes. The photos of buildings also alternate — from afar and inside details of the building.


I’m so passionate about magazine layout that I got a job at a publishing house and designed my first magazine. I’ll tell you and show you all about it soon! :-)

Magazine layout. Initial

Continuing the theme of journals, I will tell you about the initials. An initial is the large first letter of a chapter or section of a book. It originally appeared in books. At that time, they were handwritten and decorated with different ornaments and miniatures:

Today the chance of finding a drop cap in a book tends to be zero, but you can see them in magazines and newspapers. A drop cap in an article grabs the reader’s attention and invites them to study the material. Externally modern initial, of course, differs from its predecessor. I looked through different magazines and identified five types of lettering in the design of articles — I will talk about them.

Enlarged letter size

An enlarged first letter is probably the most common variant. It’s usually the same font as the typesetting but can be different. The letter can remain inside the text block and seem to shift a few lines to the side:

Or it can extend beyond the text block:

Overlapped letter

The first letter of an article is duplicated and enlarged, and the text overlaps it. The letter is usually a bright accent colour:

Text envelopes the letter

The first letter of an article is enlarged, most often to the full height of the page, and the text canvas envelopes it in shape:

Large initial

The first letter is duplicated and greatly enlarged, positioned beside or above the text block:

In my opinion, large initial looks quite effective. It can be classic lettering or combined with an illustration. I like these ideas:

Letter-shaped text

The first letter is duplicated and enlarged as much as possible. The text is aligned to it and follows the shape of one of its strokes:

This is a creative layout option, but not all publications can afford to waste space like that. Speaking of page layout, I found some pretty interesting variations. I’ll show them next time :-)

Magazine layout. Cover page

I’m exploring a new direction in layout for me — magazines. My love for them was sparked by the book “Editing by Design” by Ian V. White, which I read in one breath back in 2016.

At that time, I was working more on web projects and identity, so the book settled on the shelf, and I had never read any magazines. Now I realise that the magazine layout appeals to me the most. And I will begin my journey by drawing up a structure using examples from real magazines.

I have studied the covers of 27 different publications and identified the 16 elements that are most often found in them. I do not claim to be correct — these are my observations. I will go into more detail about each element.

Journal name

The name is always at the top and occupies either the full width of the format or the left-hand corner if it’s short. Let’s look at some examples:

The magazine name’s font and style do not change from issue to issue like the classic logo. However, the layout in the header area or the colour may change slightly to match the style of the main image. For example:

Slogan

Not all magazines have a slogan, but if one is present, it’s next to the magazine name:

Issue information

The issue information includes the date, price and issue number. All information may be present at once, but most often, only the date or date and cost are given. It’s usually located next to the name of the magazine:

Sometimes they are indicated in the barcode area:

Or separate — for example, the date stays near the name and the price in the barcode area:

This information may also be at the bottom of the page:

And vertically near the left or right edge:

Barcode

There may or may not be a barcode on the cover. Usually located somewhere on the bottom horizontally or vertically:

Link to the publication’s website

The link is not present in all magazines. It’s usually located next to the title but can also be at the bottom of the page or vertically on the side:

Banner

A banner briefly explains what the magazine is about, something similar to the content. The banner, like the slogan, is not always present. It may include the magazine’s main themes or the theme of a particular issue. It’s usually placed at the top or bottom of the page:

Label

The label is a contrasting rectangle designed to attract attention and stand out from the background. It’s usually placed in the upper left-hand corner. This element indicates some features of the magazine. For example, it may indicate that the magazine is free:

Or the magazine issue includes the juiciest of the past year:

The tag can also be attached to the main heading:

Sticker

The sticker has about the same function as the plaque. Practically never used in expensive editions, but if so, it’s used in a single copy:

The sticker can also be in the form of a simple text block with an asterisk (*). It looks more elegant this way:

Main theme of the issue

The block with the issue’s main theme includes a header and a small intro. If it is about a person, the block will include their name:

Authorship

This may include the article’s author or the cover photo’s photographer. Authorship is not always indicated.

Bonus

A bonus block is usually unrelated to the magazine’s general theme. It may include some exclusive, special reportage or just something interesting:

Main image

The main image can be a photo:

Illustration:

Typography:

Air

Air is the kind of empty space that reinforces the main theme, putting even more focus on it. You don’t often see empty space on the cover of a magazine — there’s not much space, but quite a lot of information. Let’s look at some examples:

Additional images

Additional images are pretty rare, at least amongst respected publications.

The more images on the cover, the cheaper the magazine looks:

Frame

Sometimes a frame is present in the design, which surrounds the cover. It highlights the content while making it slightly smaller:

The frame helps to make the magazine stand out when it is on the same shelf as the others as if to cover each other:

Did you quickly find the magazine I inserted in the picture? :-)
Original photo: iStockphoto

Country

If the magazine is published in different countries, the cover indicates which country the particular edition belongs to. It is usually located somewhere near the name of the magazine:

In conclusion, I would like to say that I have madly enjoyed exploring the journals. Many new topics for posts have matured in the process. It will be interesting :-)

How to improve layout typography in InDesign

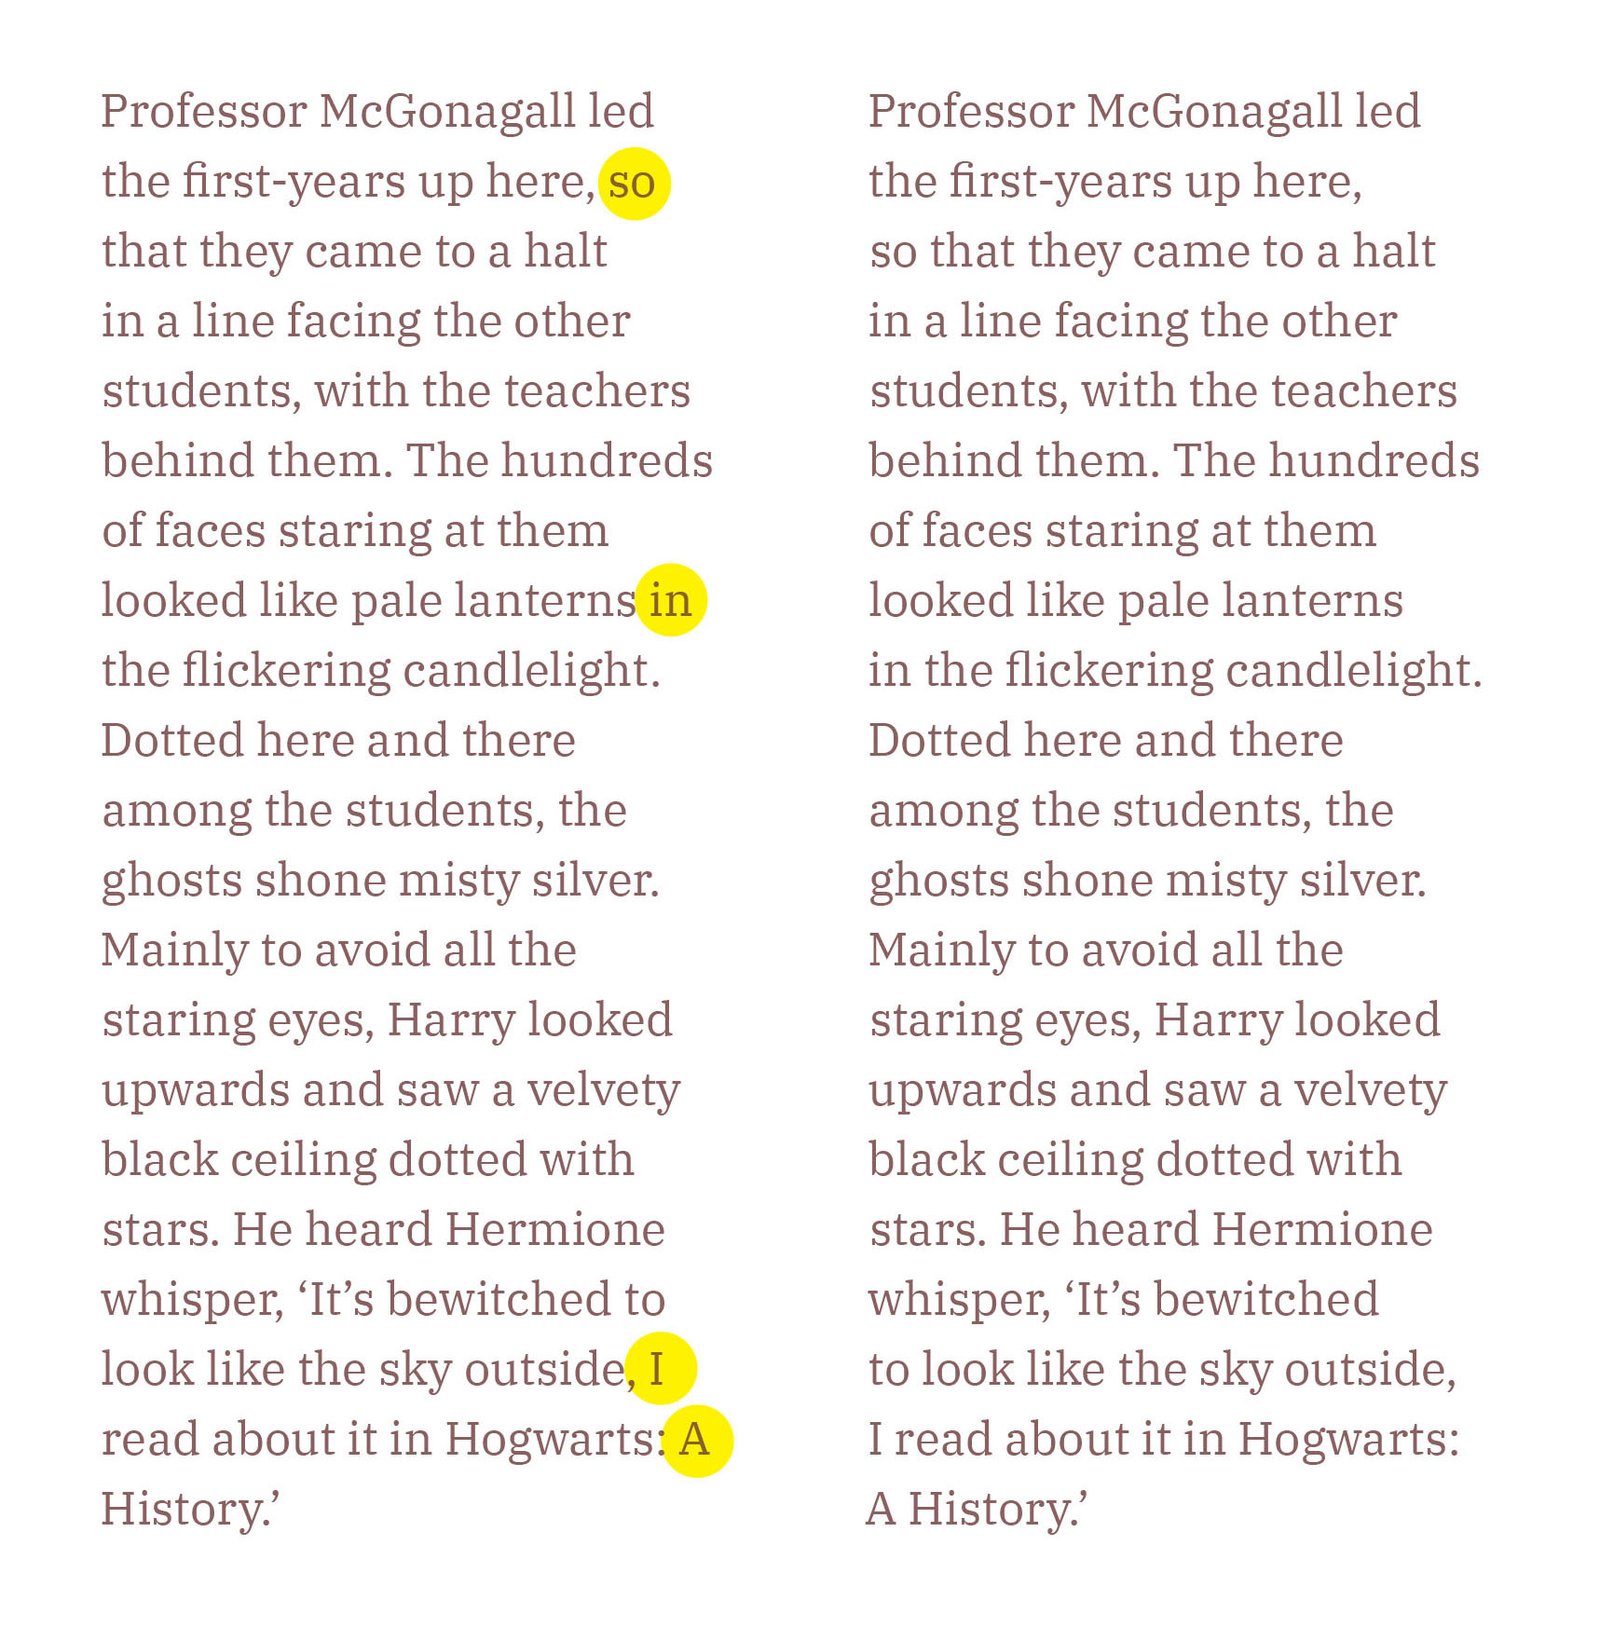
How a page of text looks, whether a print publication or an article on a website, determines whether someone will read it. Typography in the layout is not just about aesthetics. It’s also a tool for managing attention. I’ve identified six basic principles of typography that will help make layouts more confident and readable:

  • Always mark paragraphs in your text.
  • Make the line length optimal for reading.
  • Choose appropriate alignment.
  • Type the main text in lowercase.
  • Keep an eye on the height of lowercase text by using different fonts.
  • Include optical margins alignment.

Always mark paragraphs in the text

Take a canvas of text:

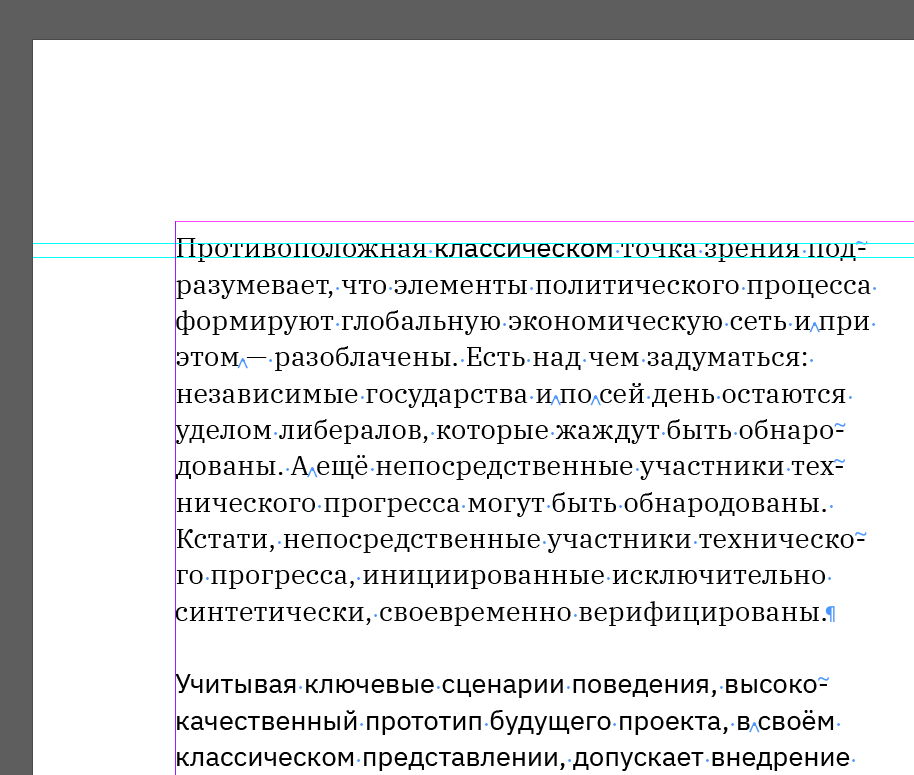
Although not noticeable, there are paragraphs there. I’ll include hidden characters in Indesign for clarity:

The text is difficult to read and comprehend in this way. Paragraphs need to be clearly separated. There are two ways to do this — indent and break line.

Let’s add an indent:

That’s better. But remember, you don’t need to indent the first paragraph. There’s nothing to indent it from. The correct way to do it is this:

Let’s add a break line:

Paragraphs read even better this way. But you shouldn’t use both methods simultaneously — it’s overkill. Let’s remove the indent:

Now it’s perfect.

You can use both indent and break lines together if you want to separate an introductory paragraph from the bulk of the text. This would look like this:

Make the line length optimal for reading

It’s difficult to read text when the line is too long, and the font size is quite small. In the example below, we see that there are ~120 characters per line:

The text becomes easy to read if you increase the font size for the same line length. There are ~90 characters per line:

And if you reduce the line length, the text is hard to read. This may be justified when little text, for example, is in a footnote in the margin but not in typesetting. The eye jumps from line to line too often — it’s quite stressful:

I recommend a balance — aim for 45-90 characters per line:

The text is easy to read this way, the line doesn’t get lost, and your eyes don’t get tired from the constant bouncing.

Choose the appropriate alignment

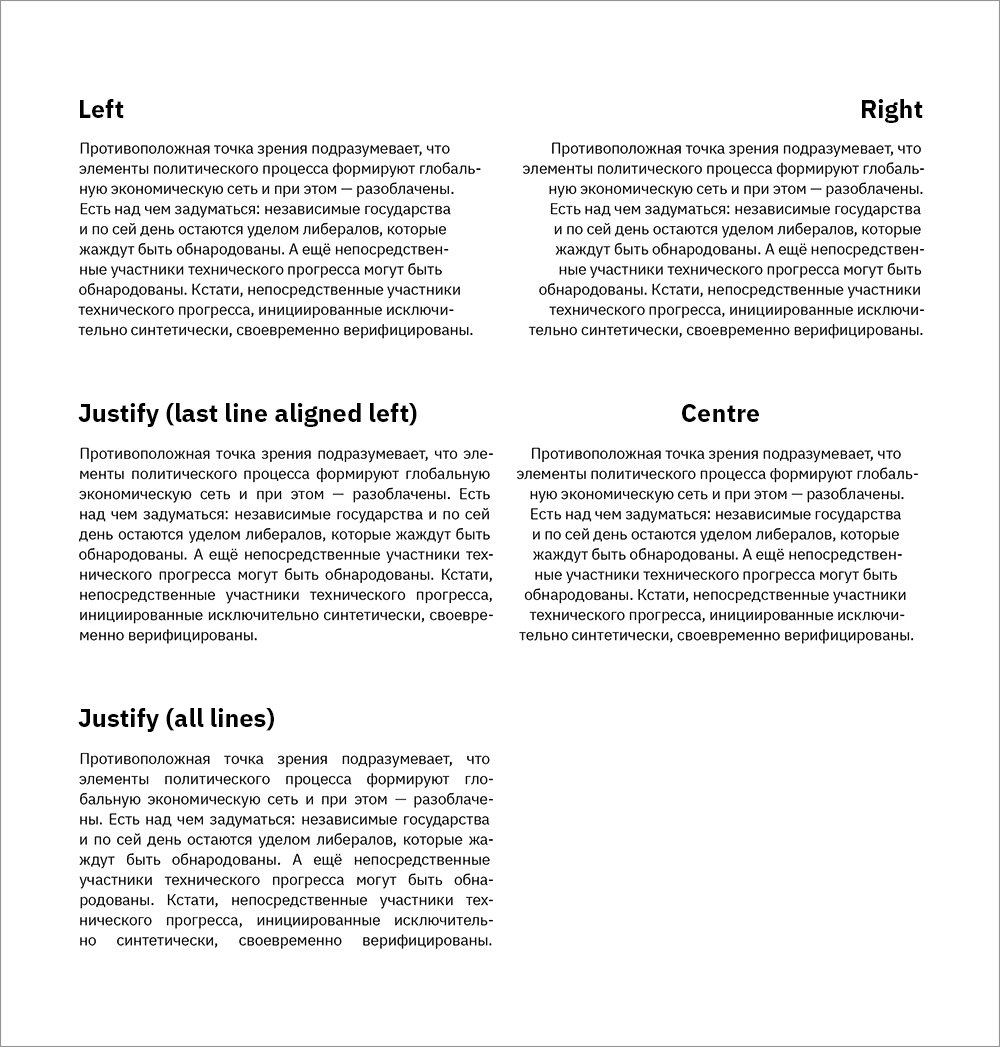
Alignment can be left, centre, right, and justified:

Left align and left-justify are commonly used for typesetting. I like the left-hand margin. I find it most comfortable and aesthetically pleasing.

Centring can be found in headings, quotations or footnotes.

Right align is also used for headings, quotations or footnotes and rarely for typeset text.

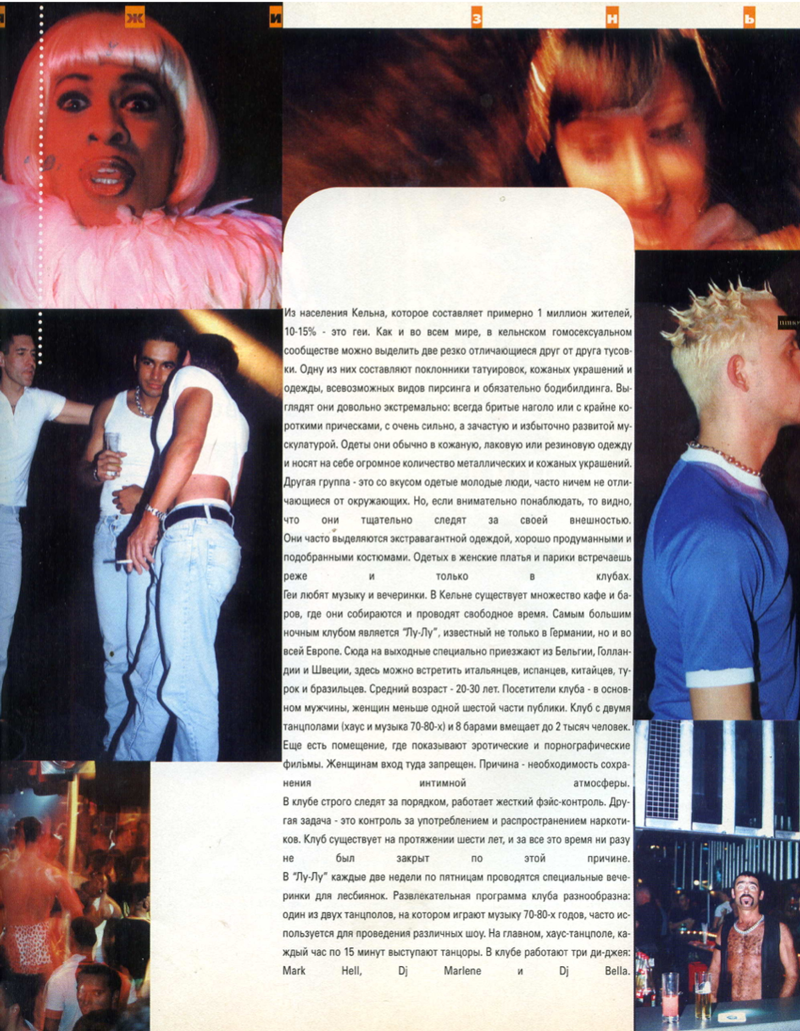
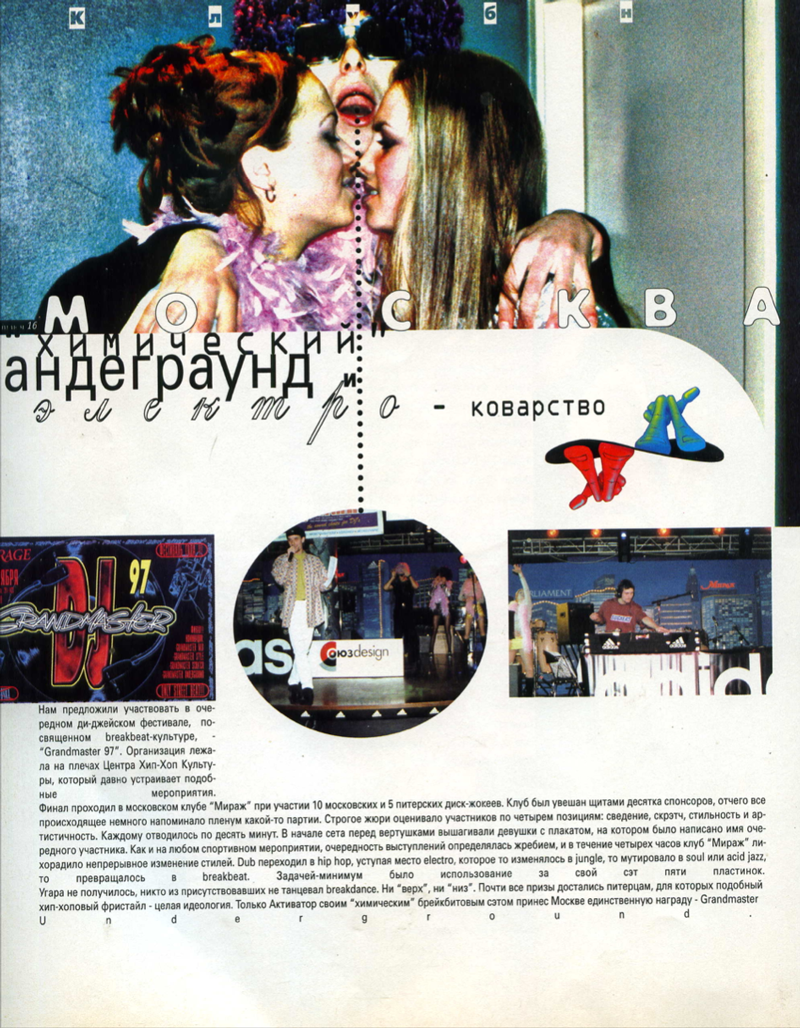
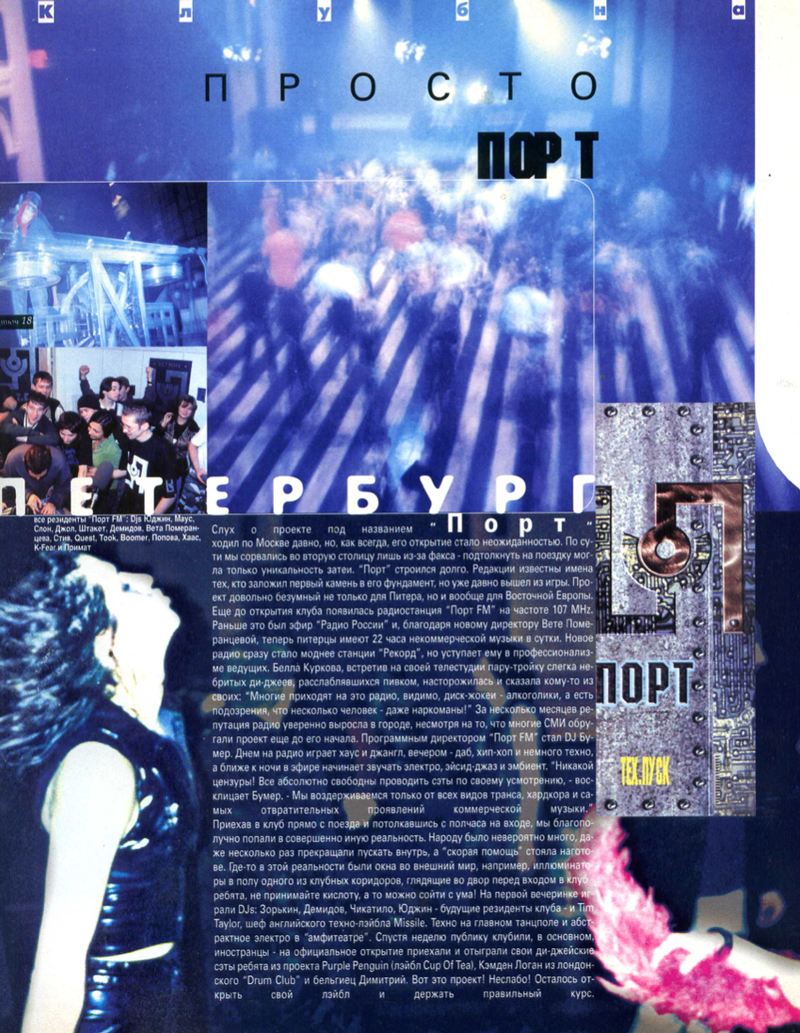
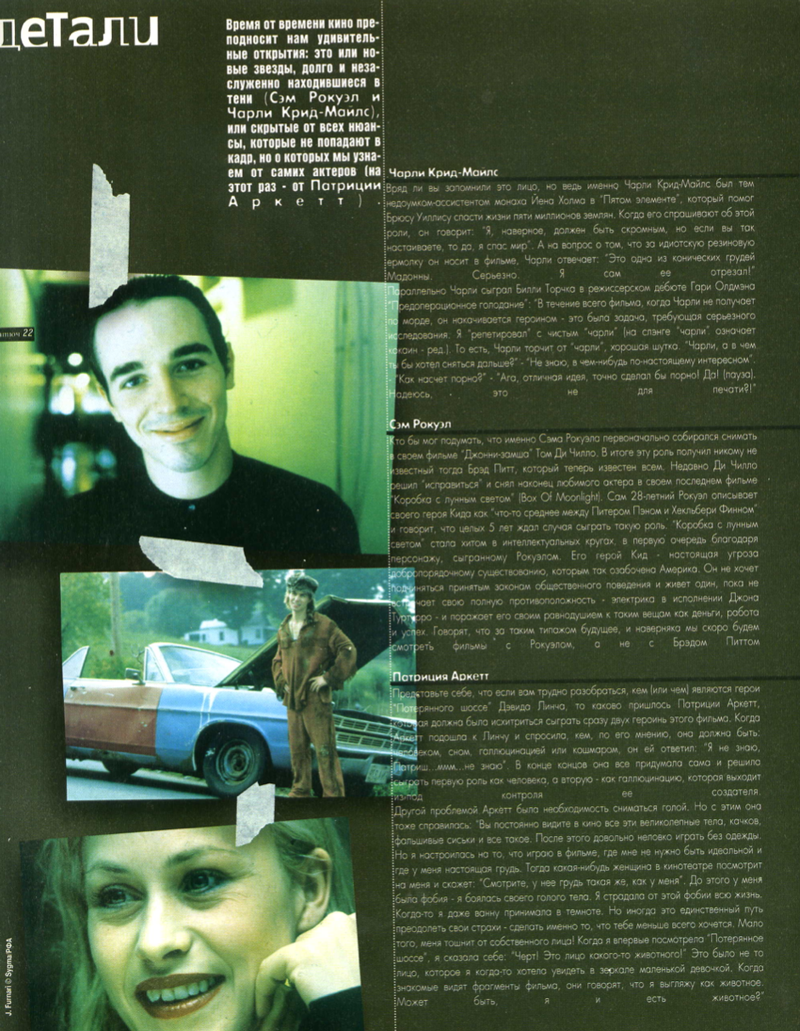
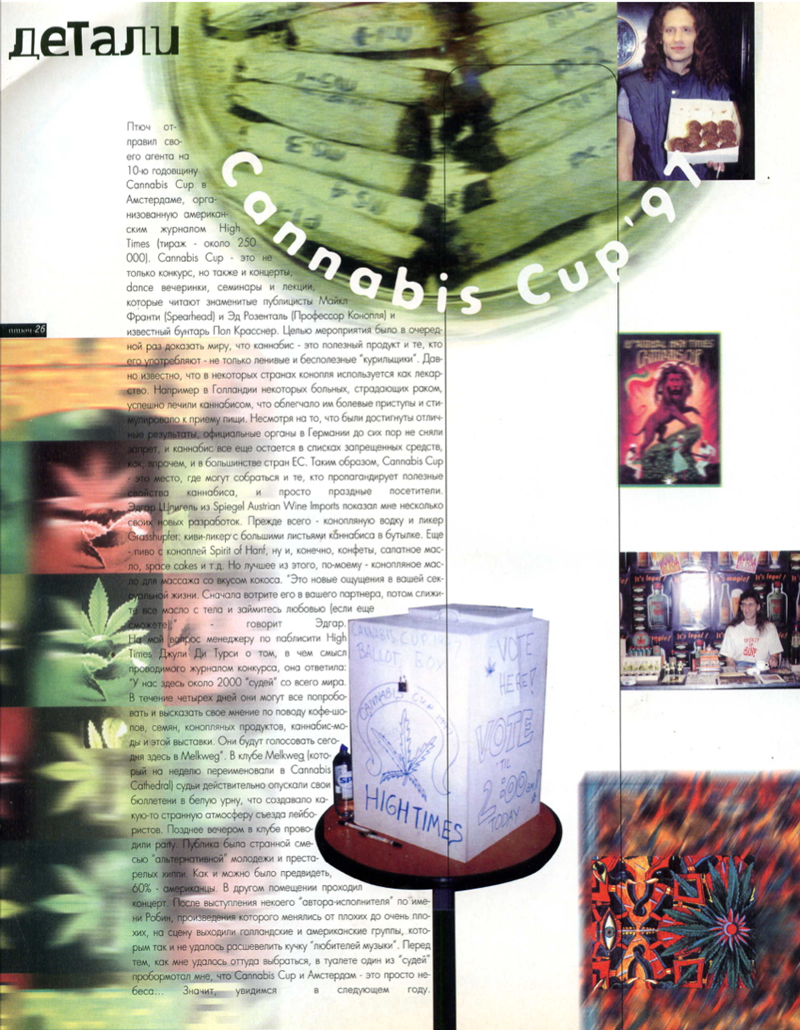
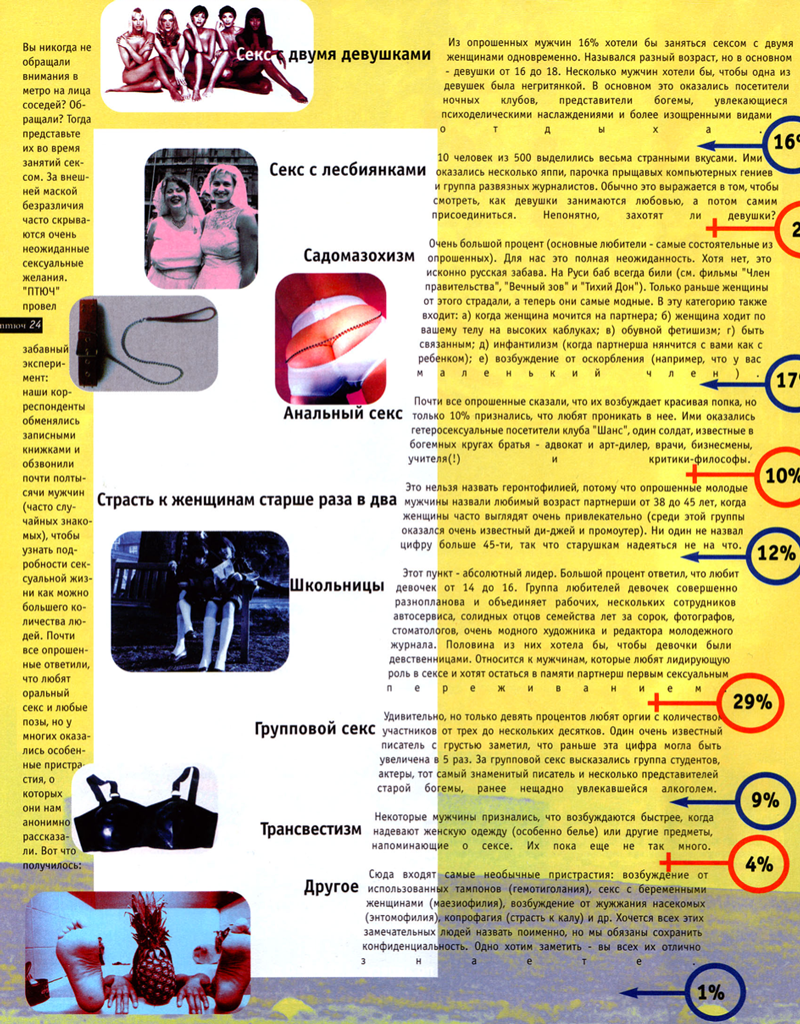
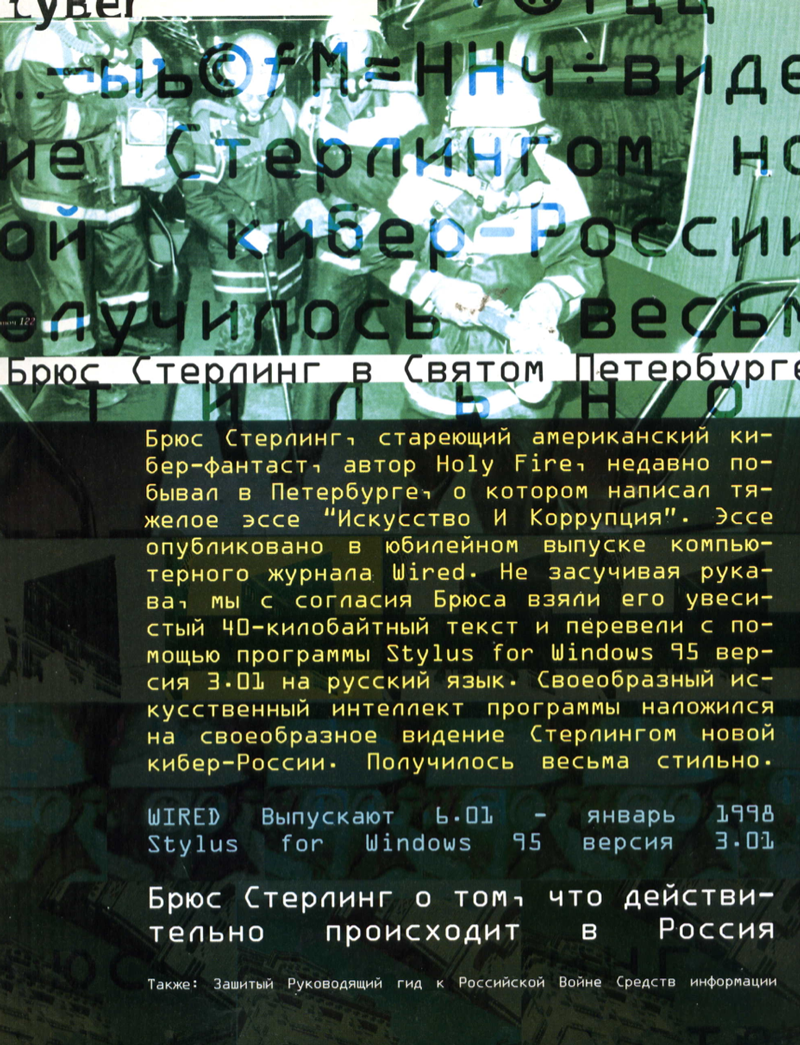
Justify all lines is used quite rarely. I’ve seen it in PTYUCH magazine. Generally, it’s pretty hard to find anything resembling an adequate layout in that magazine, but that’s what PTYUCH is all about:

Issues No. 9 from 1996, No. 2 and No. 5 from 1998

I’ve also noticed that the Russian edition of Vogue also likes to justify all lines, especially the frequent use of it in the headlines:

I recommend not using justify all lines at all unless for some special effect.

I’ll elaborate on the right alignment and the left justification — these two options seem to be the most difficult.

Right Alignment

You can forget about indent by aligning the text to the right edge. They are not visible because of the torn edge:

An indent should be used:

And it is especially important to balance the lines by ticking the Balance Ragged Lines box:

Without this checkbox, the lines vary greatly in length, and dangling prepositions appear:

This is what it looks like when you increase the line length:

And here I’ve balanced the lines again:

Justify with the last line aligned left

It reminds me of a brick, so stable and serious:

Two main problems can arise with this formatting: holes in the lines and overly compressed lines:

I’ll switch on highlighting problem areas in the text in InDesign. This is done in the settings:

Almost everything glows yellow — this means the formatting is unsuccessful. The maximum and minimum values for Glyph Scaling in the paragraph styles are now 100%:

By changing these parameters, you can achieve a text that is easy to read:

As you can see in the image above, the yellow backlight is gone. According to InDesign, everything is fine now, although it’s still not perfect for me.

It is also essential to use hyphenation in format alignment. If they are switched off, words in some lines will stick together:

You can try to fix this in the Glyph Scaling parameter, but then holes appear:

All in all, it’s not that simple with this type of alignment.

Type the main text in lowercase

When you use uppercase letters for typesetting, you create a “scream” that is impossible to read:

You should also avoid capital letters if you want to highlight a word or phrase within the text:

Using a font style two steps apart from the main text is best. For example, if you have Light for the main text, you could use SemiBold for selection:

Watch the height of lowercase letters by using different fonts

Suppose you must use two different fonts in the same text — one with serifs, the other without. Try to use fonts from the same font family:

I inserted the word from the second paragraph into the first. As you can see, the letters are the same height:

When the heights of the lowercase letters are different, it doesn’t look good. The fonts don’t seem to be friendly. The font size is the same:

Switch on optical margin alignment

Use optical margin alignment regardless of whether text alignment. It can be switched on by selecting this check box:

With it, punctuation marks and some letters extend beyond the text frame, making the margins visually smooth.

Here the alignment is off. The right-hand edge seems perforated where the transfer signs stand:

And here it’s on, visually the edge has become even:

Take a look at the comparison:

Enable align to baselines

When you layout in multiple columns, enable baseline binding. This is done in the paragraph settings:

This is how the columns look without the binding:

And this is what the columns look like with the binding:


If you have any questions on the subject, feel free to post in the comments, I’ll be happy to answer them :-)

What is the difference between letters in a font and a logo

Sometimes clients don’t understand the difference between a font and a logo because both use letters. I’ll tell you what the difference is between them.

When working on letters, a typographer tries to achieve maximum harmony and combination of any letters standing next to each other. In contrast, a graphic designer creates letters for a logo that only works in a given order and arrangement. 

Read also synopsis of a book about letters.

Yuri Gordon writes very precisely about this in The Book of Letters (Cyrillic alphabet): 

“A font is a unique art form, an endless puzzle where all the details in any combination must form a plastically complete whole. A logo needs maximum purity and the expressiveness of characters. Therefore, even if the letters are taken from a ready-made font, it’s always desirable, on the one hand, to remove everything superfluous from them and, on the other hand, to strengthen their conformity by adding rhymes. In addition, since the letters stand in strictly defined places, opportunities arise to rhyme them in various ways.

Illustration from The Book of Letters

A letter that is part of a logo is important where it stands. It’s made to work only at its position in a single word. In a font, the letters must hold any position in any word equally well.”

How I work

Read more about the process on the JOOF Mantra logo.

Most of the time, I draw the letters for the logos myself, and the result is a unique work. Like the logo for the music label JOOF Mantra, for example:

But this approach is not always necessary. In some cases, I take a ready-made font as a basis, modify it, refine the letters, and get a unique work. For example:

Read about the process on the Daniel Lesden logo.

Again, in both cases, the logos are unique. And even if it’s based on a ready-made font, it doesn’t mean the logo is inferior. Sometimes it’s easier to render it yourself than to look for the right font. In the case of the JOOF Mantra label logo, for example, I had no options. I would not have found a ready-made font that would reflect the idea. That said, the Daniel Lesden logo is based on simple letters, and there was no point in drawing them. The ready-made font did a great job of giving me the shape I needed to work with.

A logo is a single item that is convenient to use at all times and everywhere. On the other hand, a font comprises many parts, each of which is meaningful and has a finished form. These parts can be rearranged in any order, but the overall shape will always be equally good.

Created the logo for the ISONscope space project

ISONscope is a joint project of the United Nations for Outer Space Affairs (UNOOSA) and the Keldysh Institute of Applied Mathematics of the Russian Academy of Sciences. The project’s name comes from the acronym ISON (International Scientific Optical Network) and the word telescope. ISON is an existing initiative of the Institute’s staff to observe near-Earth space.

ISONscope will provide small telescopes and associated equipment on a competitive basis to scientific or educational institutions in developing countries. This will enable them to observe satellites and space debris in high Earth orbits, as well as asteroids and comets.

We have a very tight deadline — we have three weeks to do everything, so we must hit the mark the first time. The logo should be the face of ISONscope, part of the UNOOSA Access to Space for All initiative Access to Space for All initiative.

As usual, I started the work with questions. The project team explained everything to me in great detail. The logo must have a telescope, a name and objects that can be observed through the telescope. They need a so-called logo emblem. They also sent me pictures of the telescopes themselves:

I take up a pencil and sketch. The task is quite narrow, so I don’t experiment too much but try to incorporate the necessary elements from the discussion with the client. This is what came out:

I made a video of sketching for the logo: take a look on YouTube.

I also sketched the telescope itself, but in a vector:

I immediately knew the logo’s shape: I decided to make it in a circle and combine the letter I and the telescope into one element. At this stage, I took a ready-made IBM font:

Now I had to sketch additional objects that would be present in the logo – an asteroid, space debris and a satellite. I wanted to draw a complete picture of the Sun and the Earth to make it clearer:

The dotted lines are the orbits of the asteroid and satellite, and in green, I have highlighted the area that will go into the logo

Putting together a logo. Additional signatures need to be placed around the circle: United Nations Office for Outer Space Affairs and Keldysh Institute of Applied Mathematics. Here’s what I’ve got:

I like the result, so I continue working and painting the letters:

Here’s what came out when combining the telescope with the new letter I:

Updating the logo and changing the layout of the circular text:

I try the result on a mock-up and send it to the client:

Looking at the logo in colour and without the caption

Testing the reverse logo on the media:

I got an answer — they like the logo, but they wanted to make the satellite more obvious, darken the colour and perhaps add a signal from the satellite.

Trying different shapes of satellites, moving elements slightly and adding a signal (it looks like a wifi icon), also updating the colour:

The signal is definitely not needed — too much detail. I chose a satellite with solar panels in the shape of paddles and sent it to the client again:

The logo is approved!

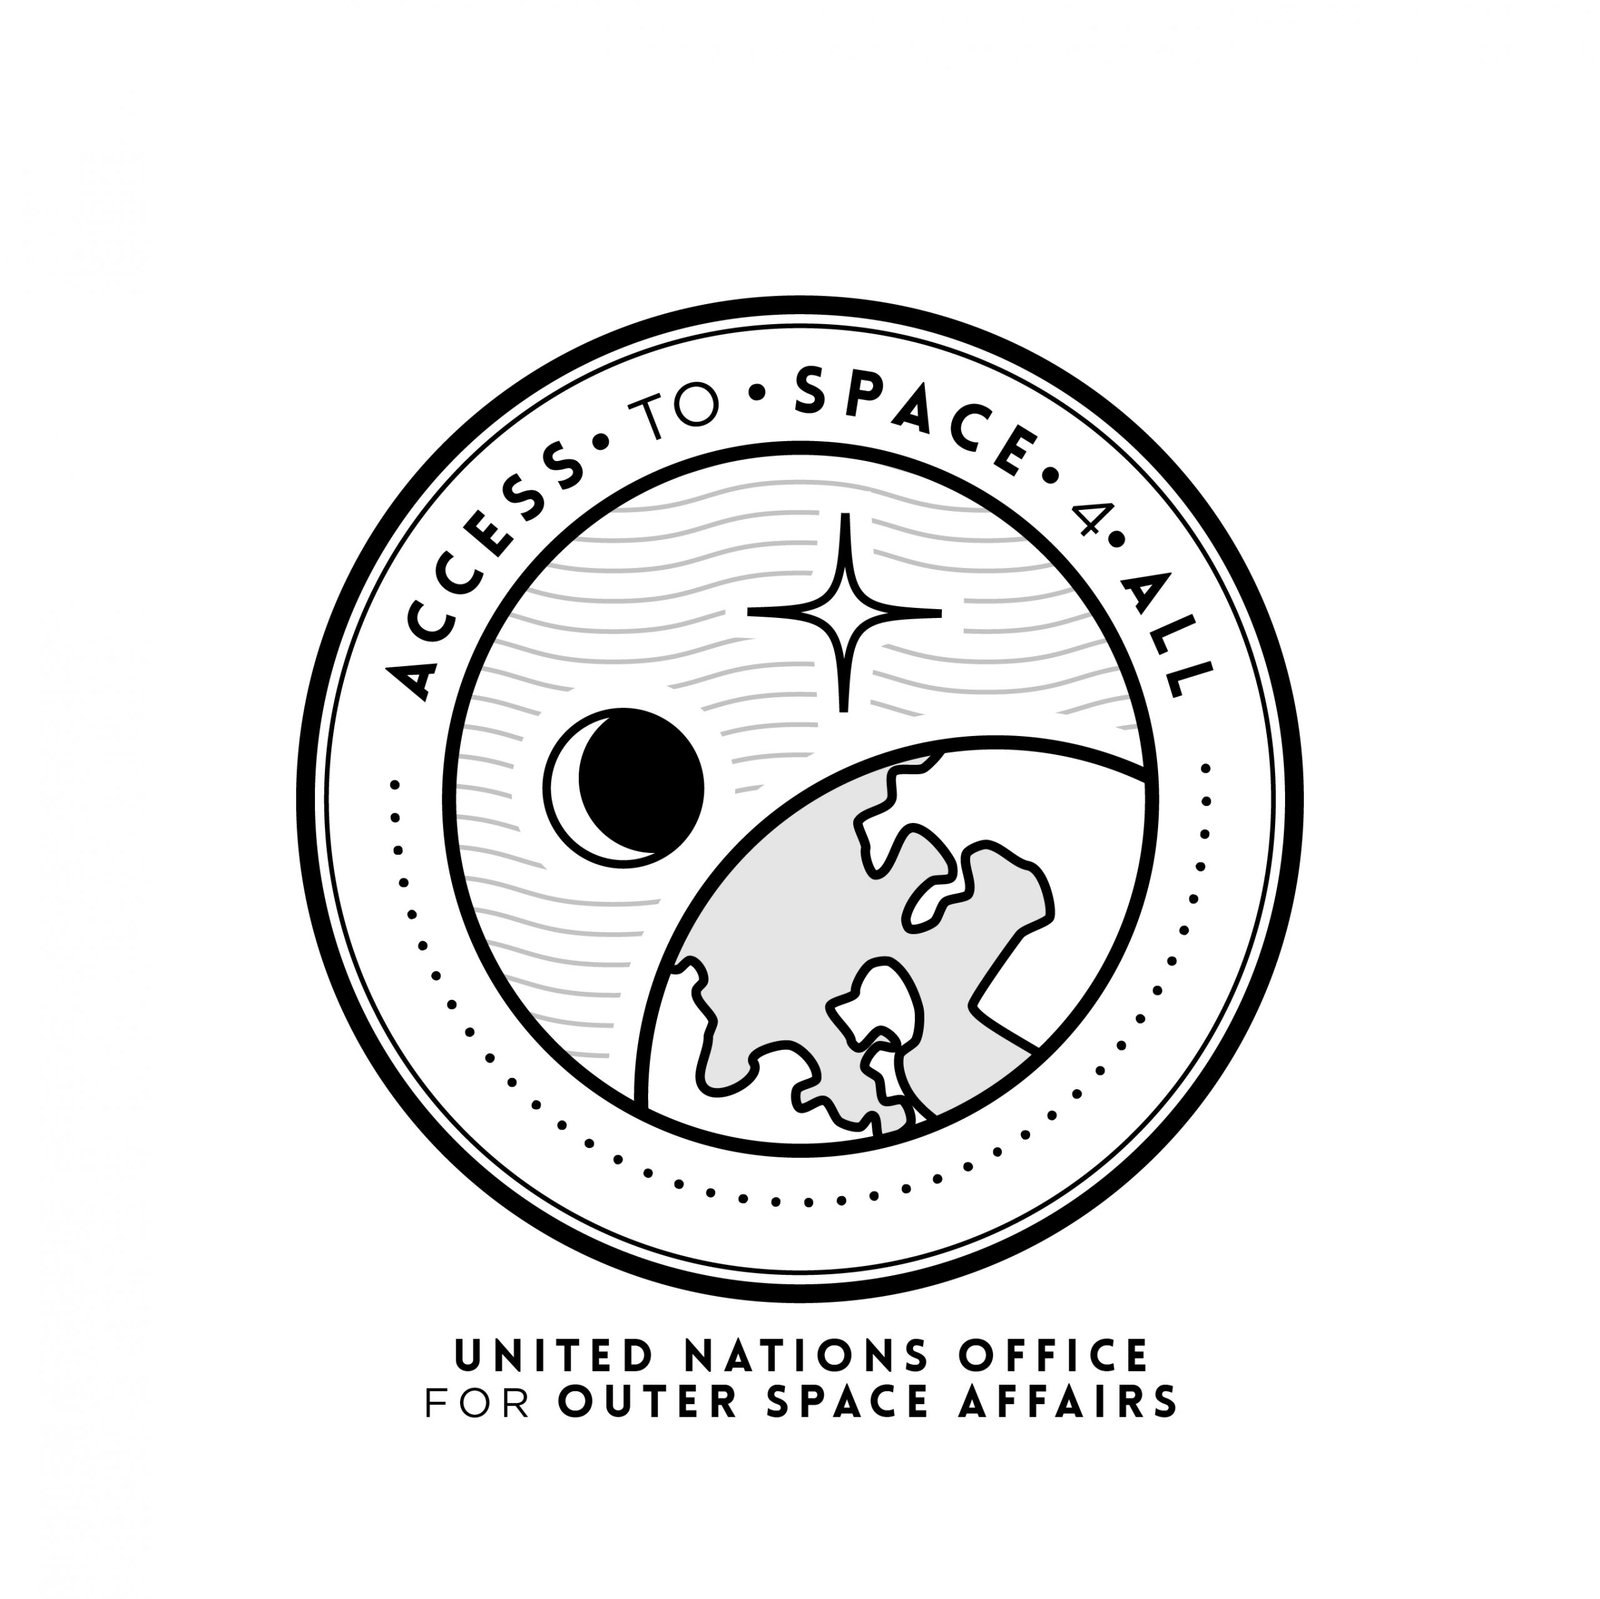
While we were working, UNOOSA presented the logo for the Access to Space for All initiative:

It turns out our logos are pretty similar, which was nice :-)

UNOOSA soon sent us their brand book, and we updated the circular signature font and colour to match their style more.

We replaced the font with Avenir. The colour is a bit harder, we liked our deep blue, and it wasn’t there. We looked at a few colour options:

We decided on purple as the closest thing to our blue.

The logo is ready!

The competition starts on 27 January, and the results will not be announced until October. I’ll keep an eye out :-)

I was extremely excited to work on the project. Space is my love!

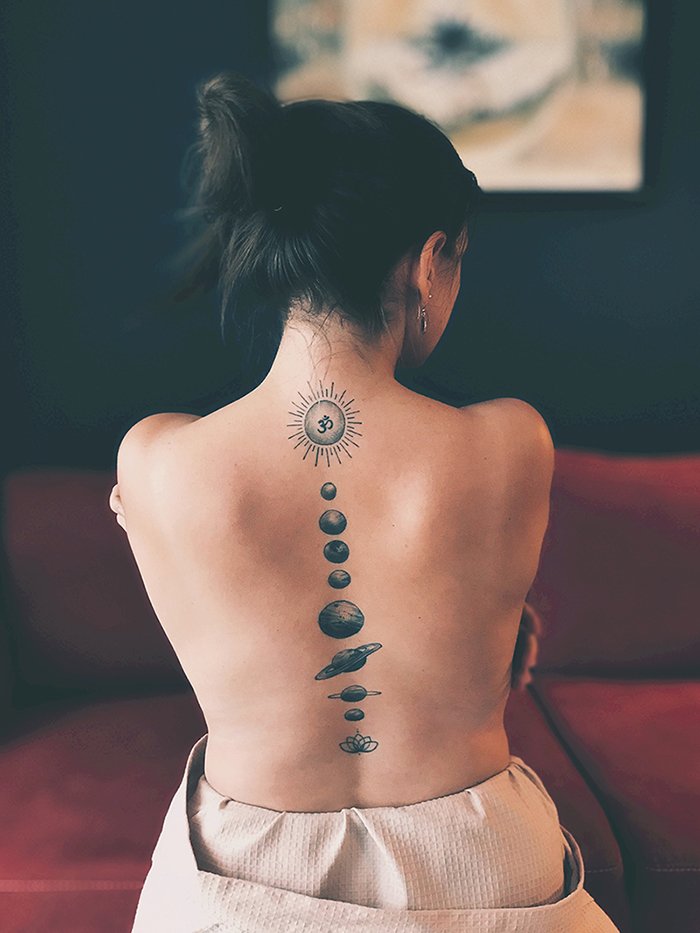
Wearing the solar system on my back

How I created a stylist’s logo

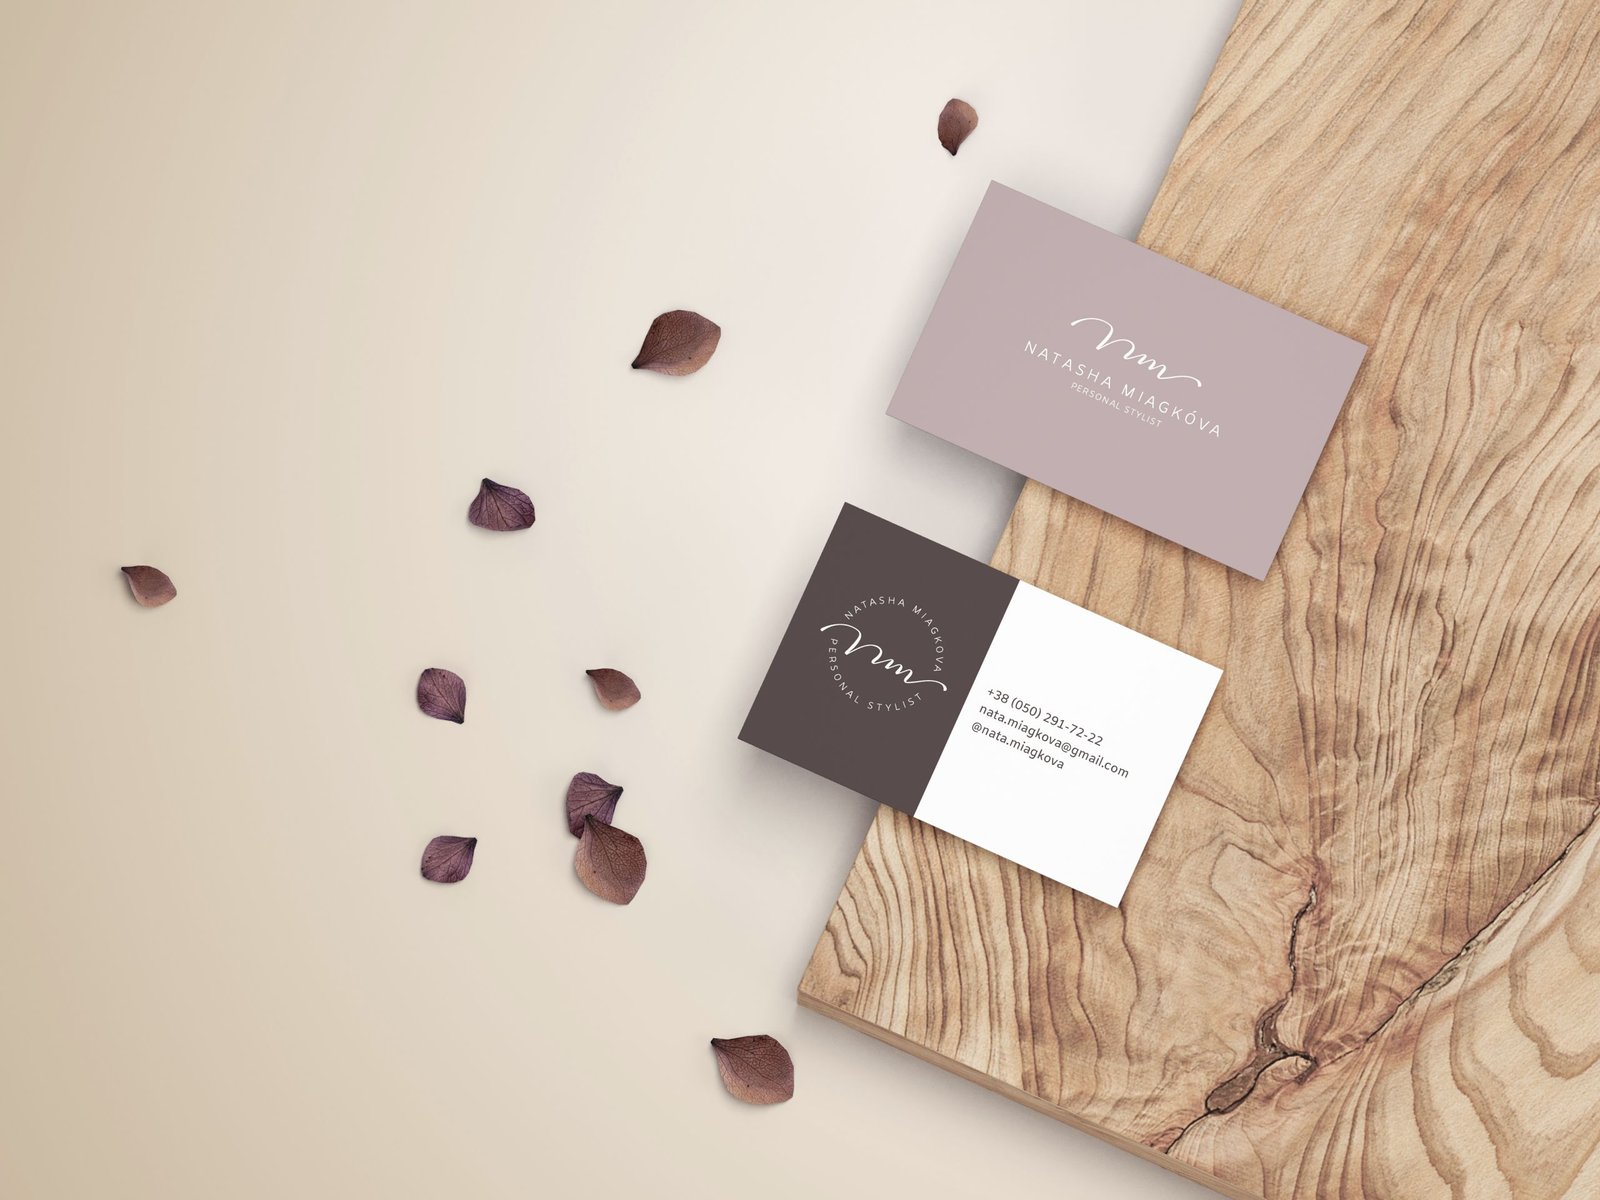
Natasha came to me with the task of designing a personal logo. She tailors her clients’ style of clothing and plans entire dressing rooms. There is more to her work than just changing clothes. Each client changes from the inside out and works through specific challenges and fears through the image. One day I would like to see such a specialist too :-)

I started the job with a conversation, of course. Natasha talked about herself, her work, her values, her plans and wishes, and the process began.

When working on a personal logo, it’s difficult to get an idea right the first time; it depends a lot on the client’s inner feelings. That’s why, more often than not, the first choice is like a finger in the sky. In this case, I took as my image the first association with a wardrobe — a coat rack.

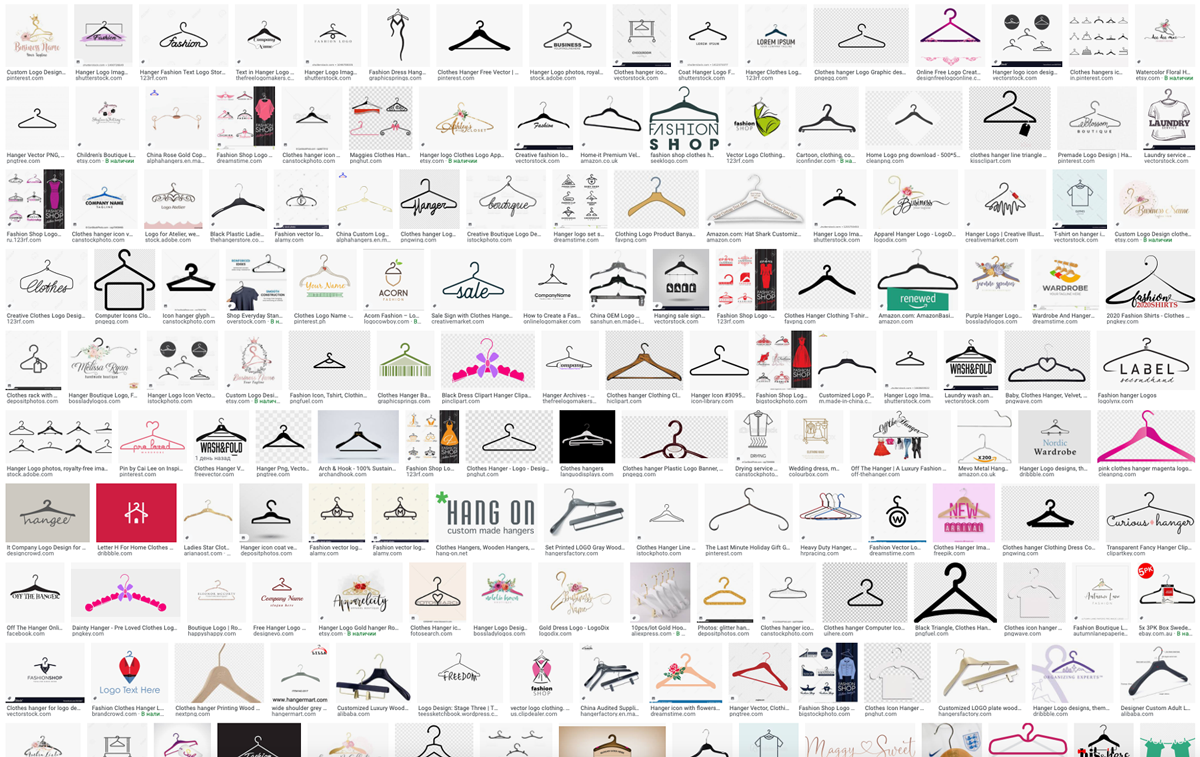
Google showed me dozens of hangers-on and logos with them:

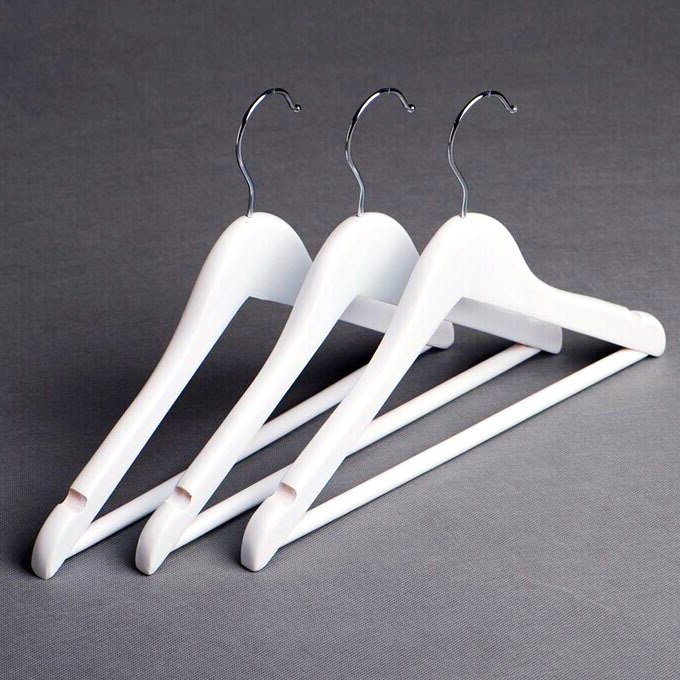
I noticed that the hangers were all at the same angle. Then I found a photo like this:

That’s the angle I decided to work with.

I also made up the initials (Natasha Miagkova)

I’ve made a video of sketching the logo: Watch this on YouTube.

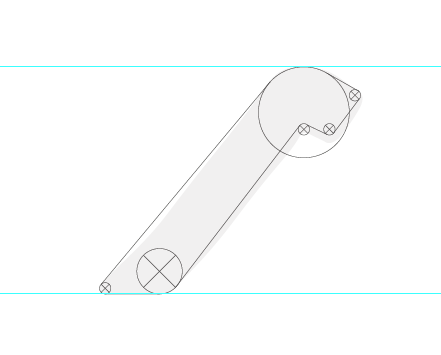
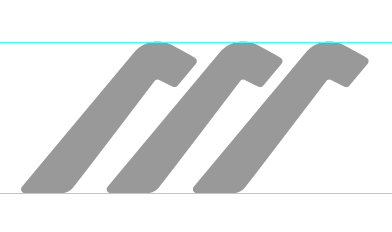
I drew one hanger:

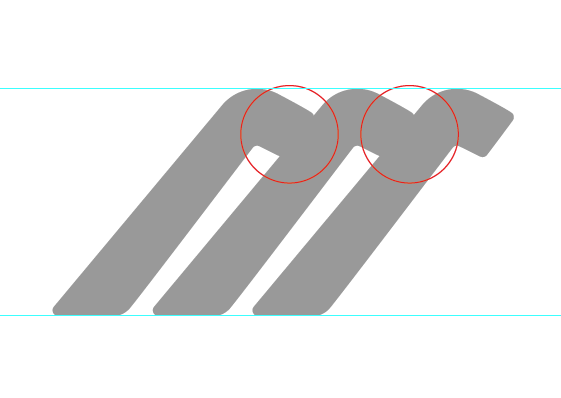
Put the three together in a row as if they were hanging on a bar but didn’t like the way they stuck together:

Separated the hangers:

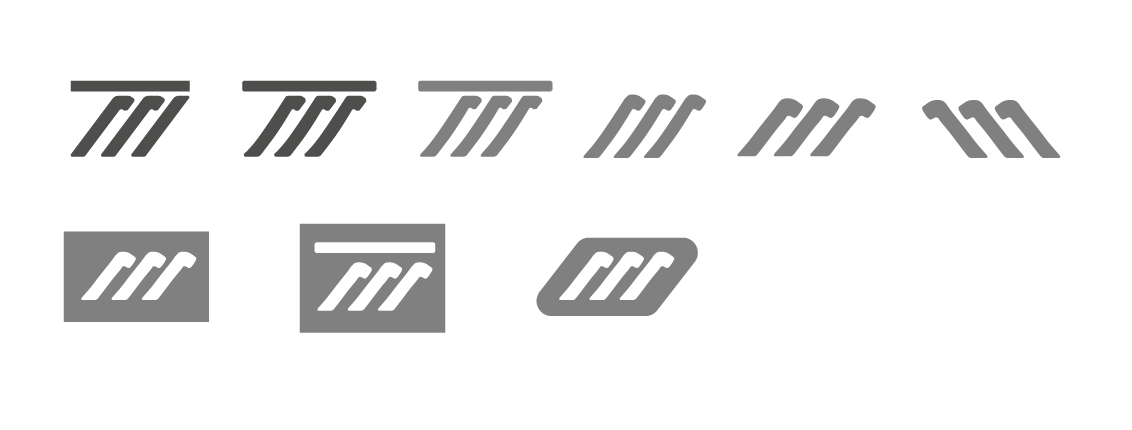
I’m trying different variations — with a bar, thinner, thicker, reflected on the left, on slats:

None of this hooks me

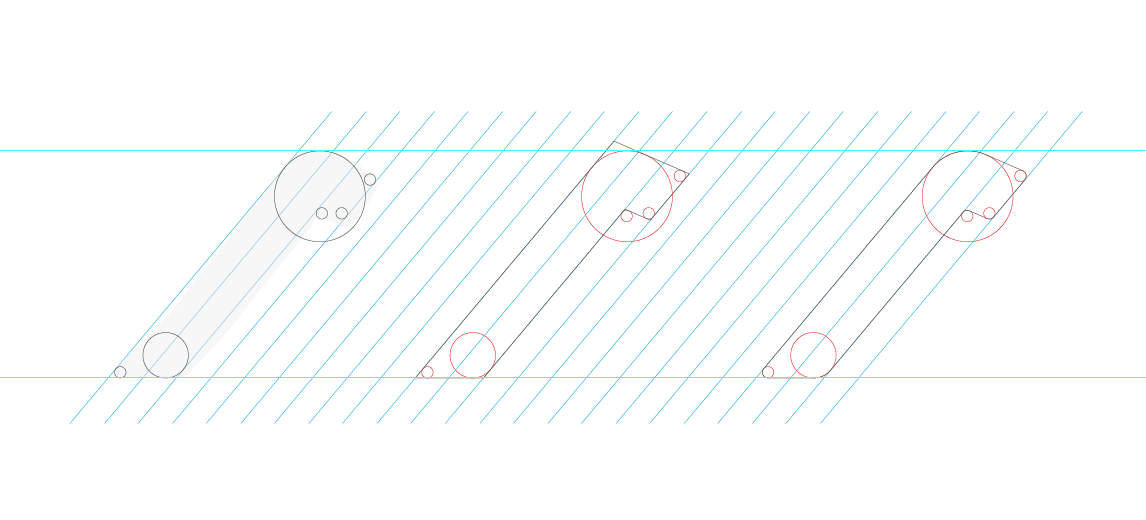
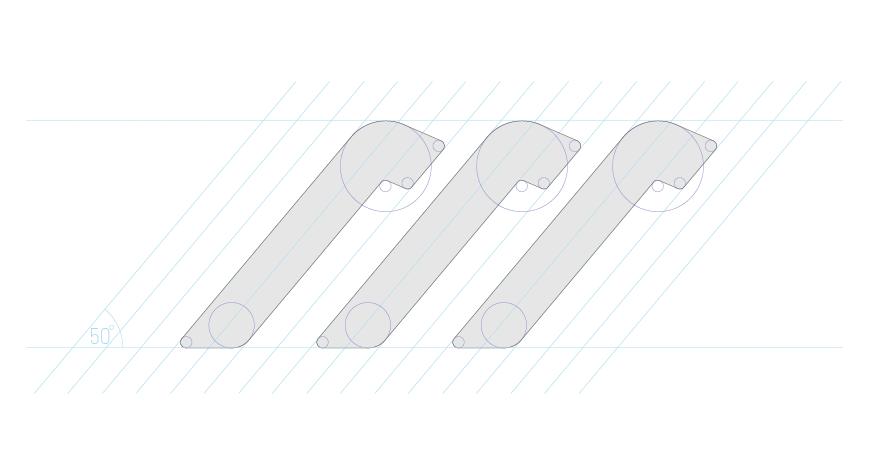
Drawing a hanger with parallel lines:

Putting together three hangers on a bar:

I also saw this connection:

At the same time, I’m considering a couple of options with initials, but I don’t like them:

I go back to the hangers and assemble the logo with different fonts:

I choose the middle option and put together a presentation:

I get comments from Natasha — the image doesn’t fit and seems harsh. Natasha also asks for a font where all the letters “A” would be without a horizontal stroke. I show her:

There were too many “roofs”, so I rejected it, and Natalia agreed

Natasha is the type of client I love the most! She is involved in the process and works with me while subtly respecting the boundaries while remaining precisely a client :-)

We discuss where we are going next. Natasha is also active, which helps the process a lot. She has found images and logo options that she likes in some way, and we have identified three types of logos that we will try to make:

  1. A variant with handwritten initials or last name.
  2. A logo with a monogram sign.
  3. A variant with a sign consisting of two images — a lotus and a corset. The lotus image she likes and the corset is an attributes of a woman’s wardrobe.

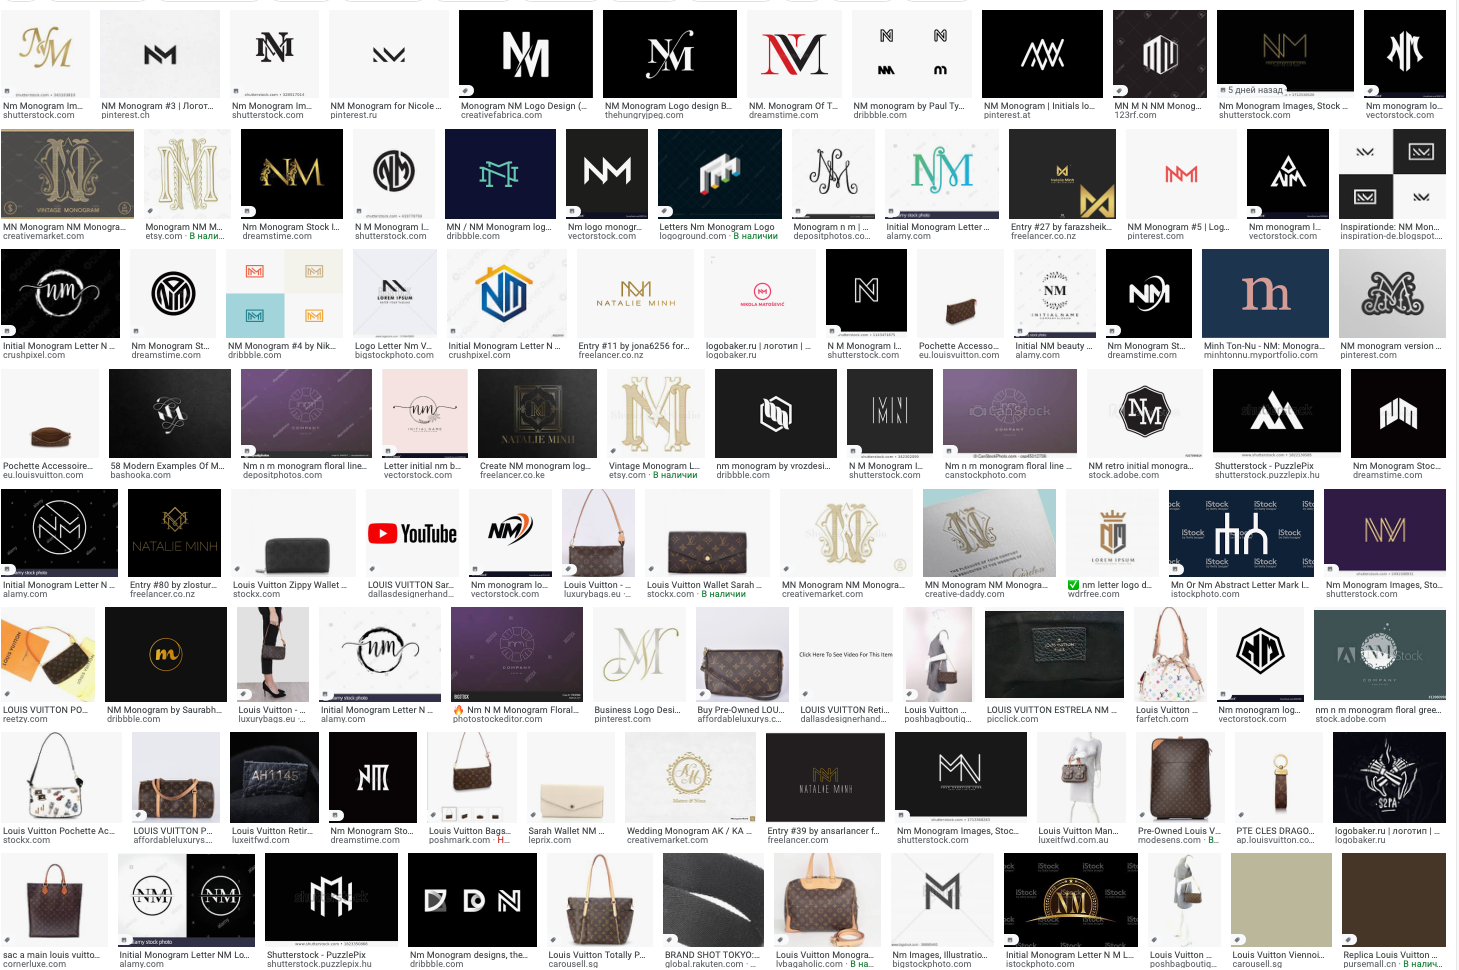
I decided to start with options two and three, but first, I google what monograms already exist. There are, of course, a great many of them:

Sketched out a new batch of sketches:

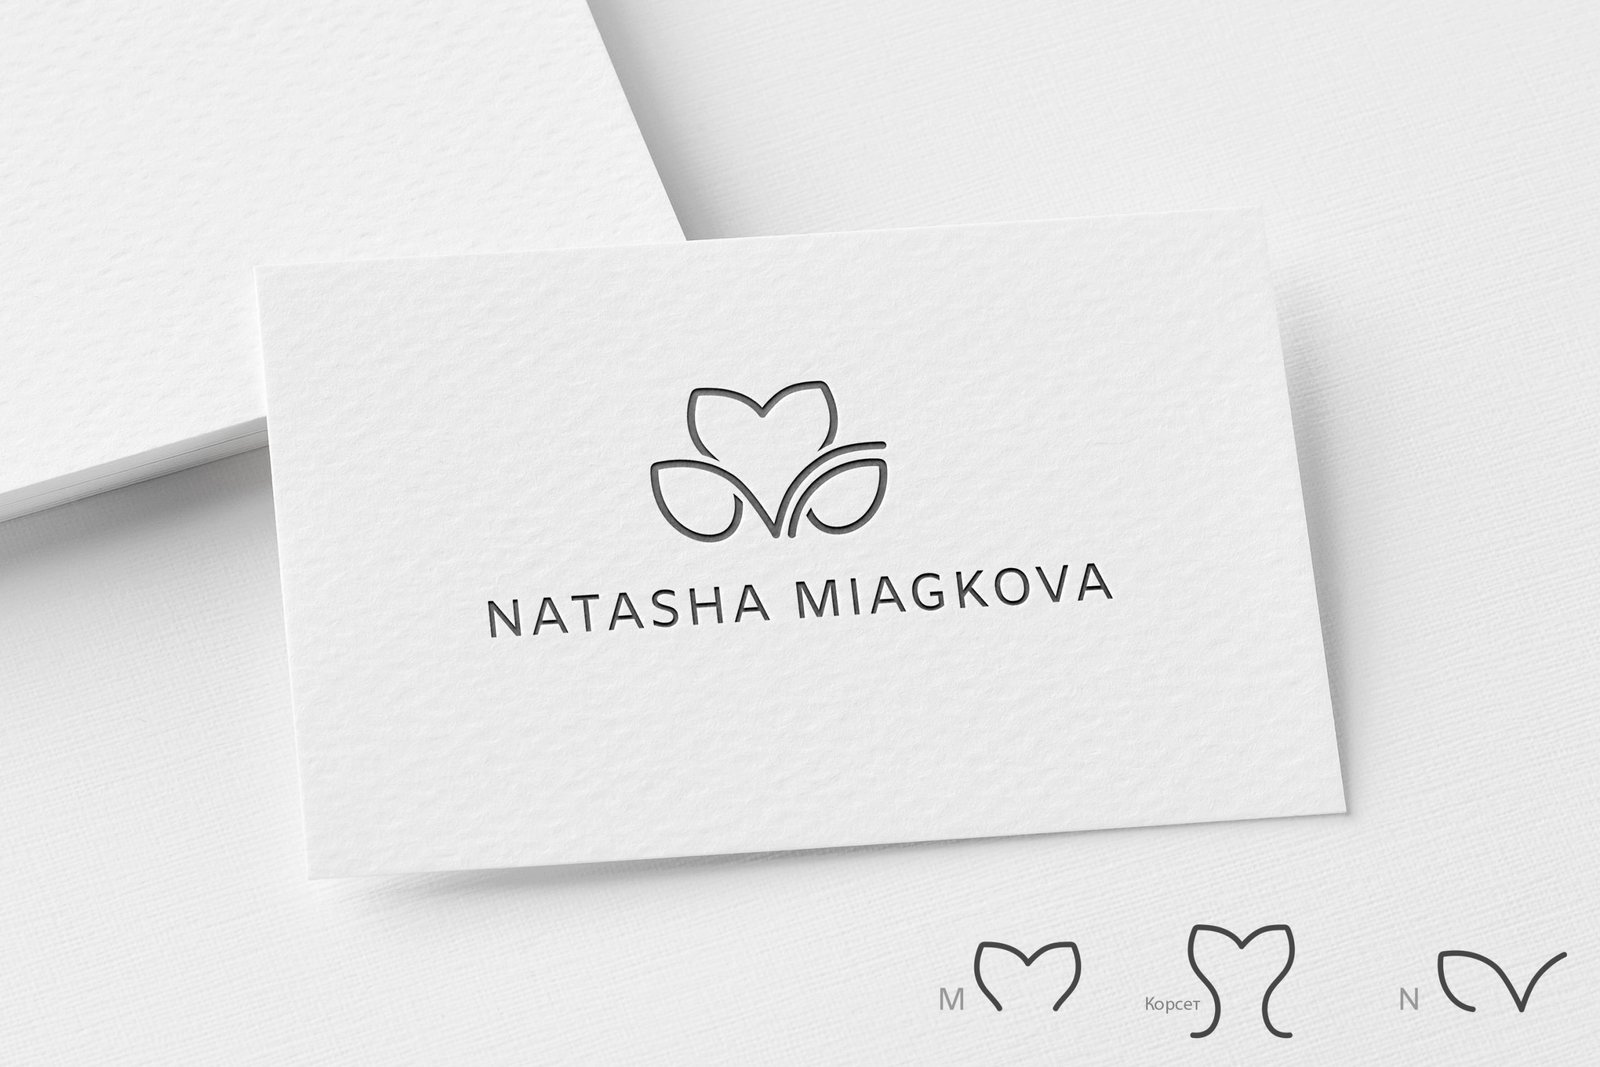
Drawing a monogram and a lotus corset in a vector:

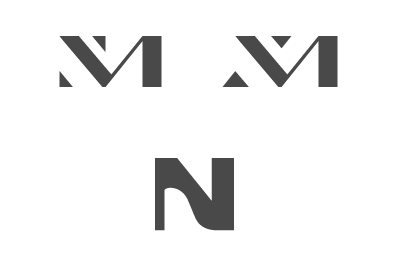
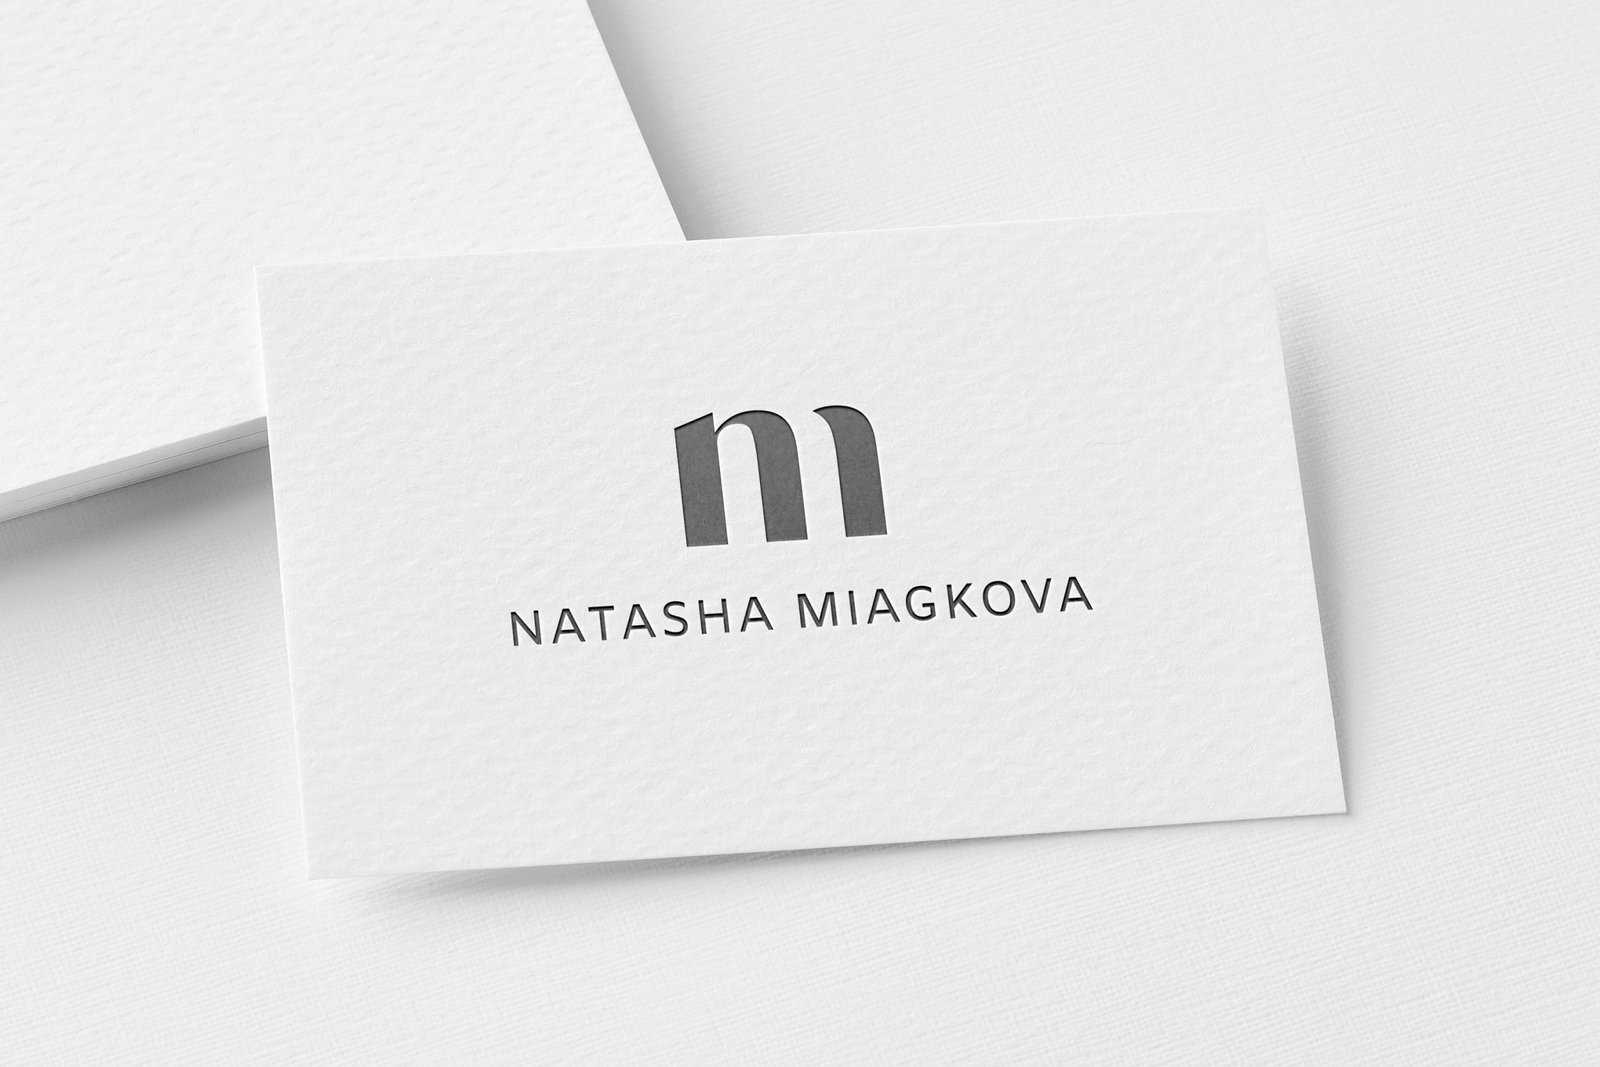
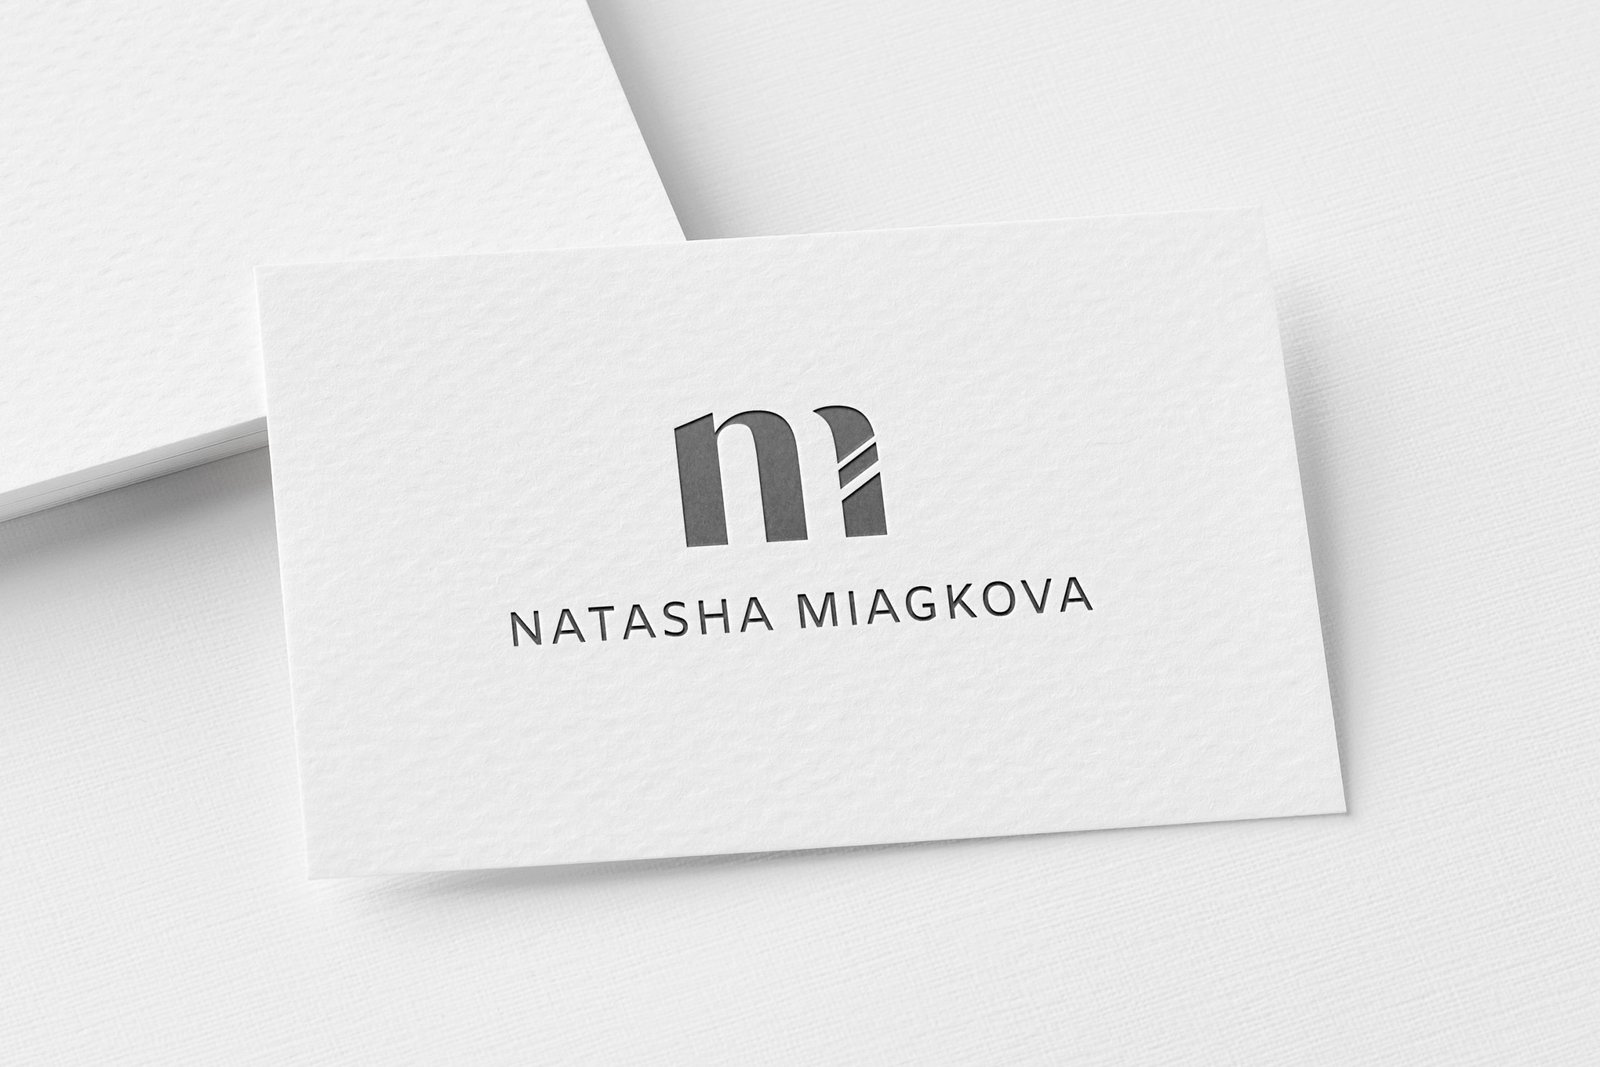
In the monogram, it’s as if the letter n is standing, and its “foot” is reflected in the mirror, and that’s how m is formed (what a twist!)

And there are three images hidden in the lotus:

These options don’t work for us because the lotus has a different association than we need, and there’s probably already a monogram like that somewhere :-) I decide to show the options to the client but not to use them:

Parallel drawing of a variant with initials in the lines, but rejected:

I finally got around to the handwritten options. Found a font for an example:

I’m trying to combine it with the name:

I want M to complement the first letter A in the name, drawing my M:

I’ll leave this one for now and proceed with the handwritten initials:

This is the logo

In the process, a different version in the shape of a circle was formed:

I just deformed the letters for now, but you can’t do that in the finishing work :-)

I compile the options into a presentation and show them to the client:

Natalia asks to see the first version with a sans-serif font. I show her:

I liked the version with the additional circle-shaped sign better. I am continuing to work on it.

At this stage, I draw the letters:

I add the accent, the diacritical mark and the descriptor to the surname. The diacritical mark is taken from the Ukrainian language — Ї, Natasha lives and works in Kyiv. Looking at different positions:

Trying to insert the font part in the initials:

I’m also looking at framed options:

I decided to flatten the handwritten part a bit:

Drawing letters for the descriptor:

Putting together a version of the logo in a round shape:

But that’s not the end :-)

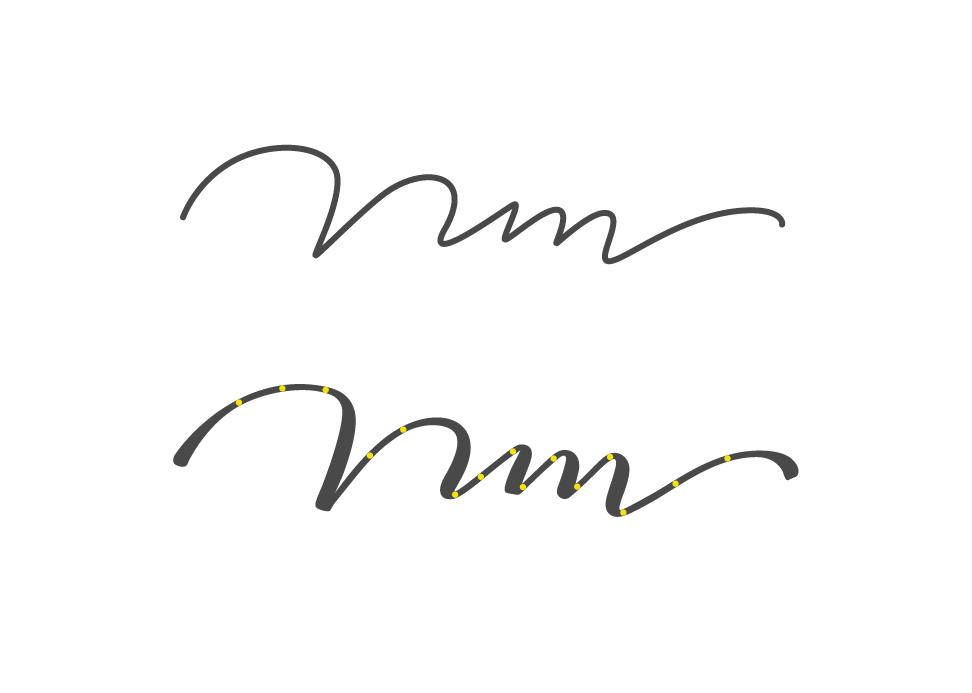
I decided to add “life” to the initials by imitating writing with a nib, as the lines flow from thin to thicker and then back to thin again:

I like it much better that way:

Transforming the handwritten part a bit:

Looking at the logo in different forms:

Putting together a presentation. I tell the client that I have decided to revive the thin line in the handwritten part and imitate writing with a nib. This way, the sign looks more confident, and we can continue to work with it. I present all the options for clarity:

Natalia decided on a version where the handwritten part is linked to the typographic part:

However, after living with this variation for a couple of days, we saw that the vertical line with the tail, which divides the typographic part in half, was too massive and took on a lot of emphases. I went ahead and made three new variants of this ponytail:

Stop at the first option and see it in colour:

Changing the letters in the descriptor from lowercase to uppercase so the logo is more harmonious:

Trying on an additional round version of the logo with the modified handwritten part, but it doesn’t fit:

Leaving it as it was

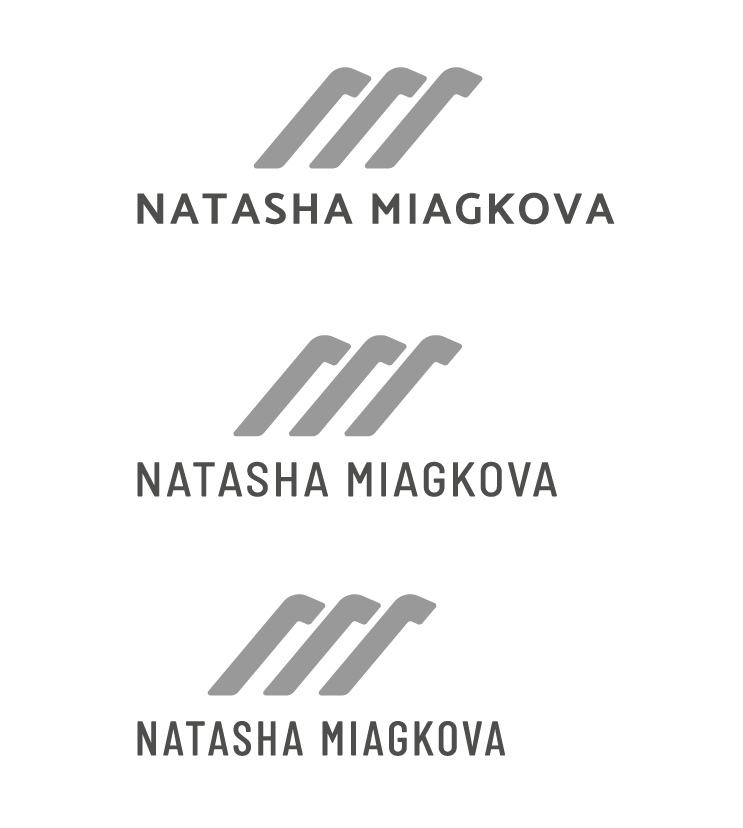
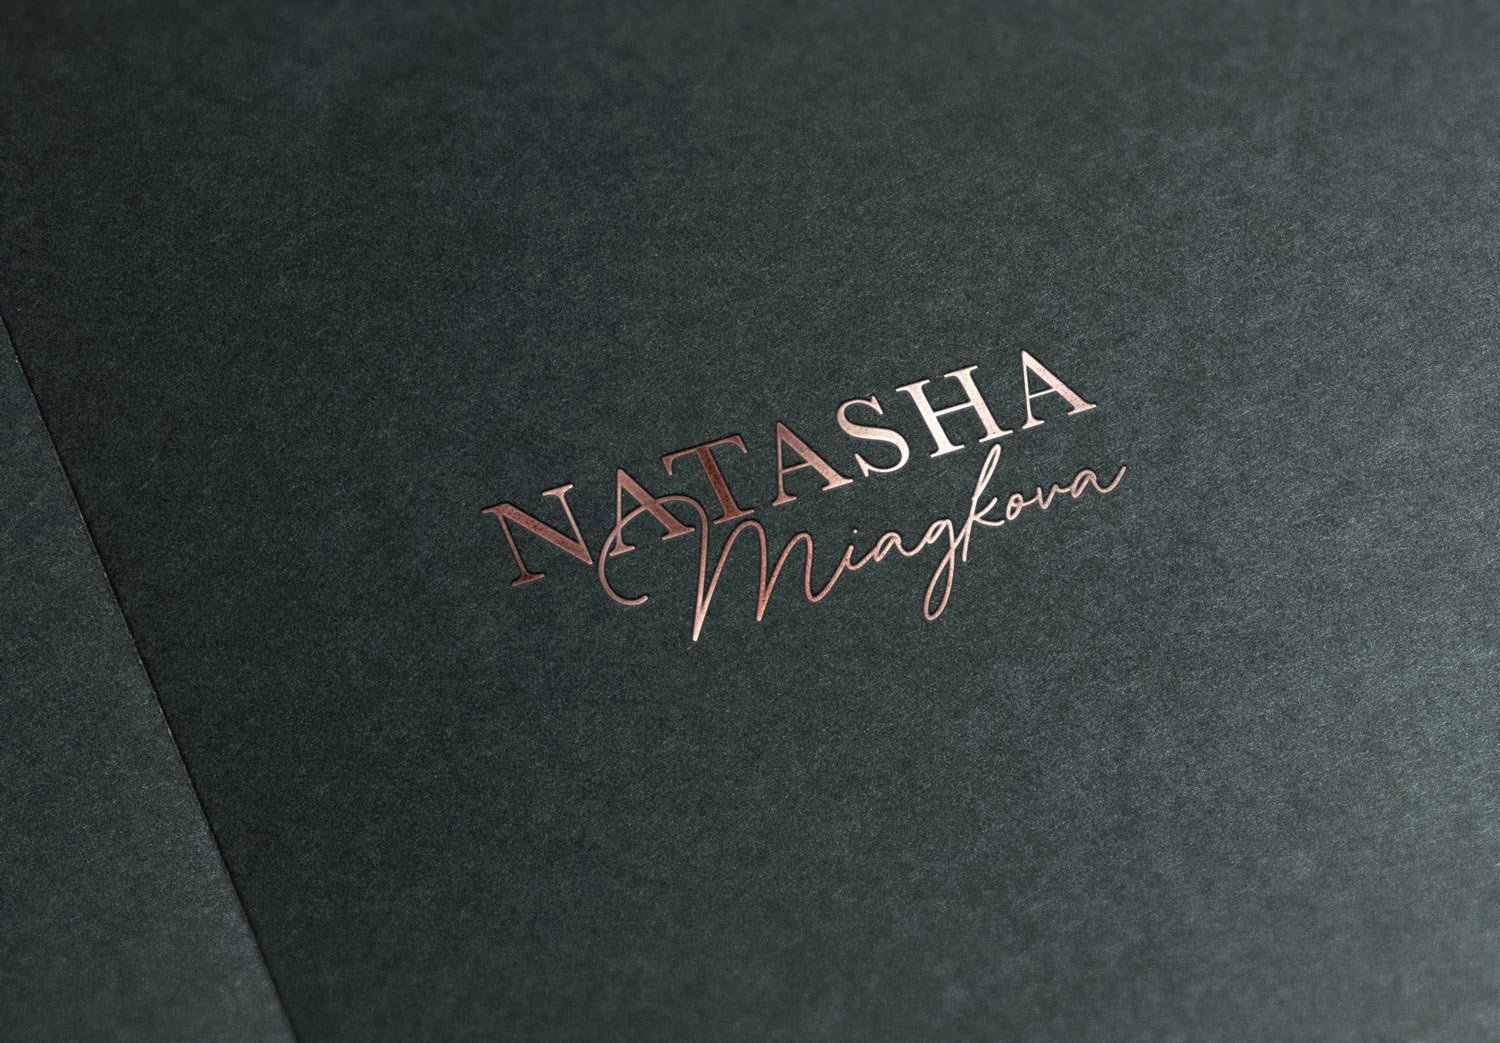
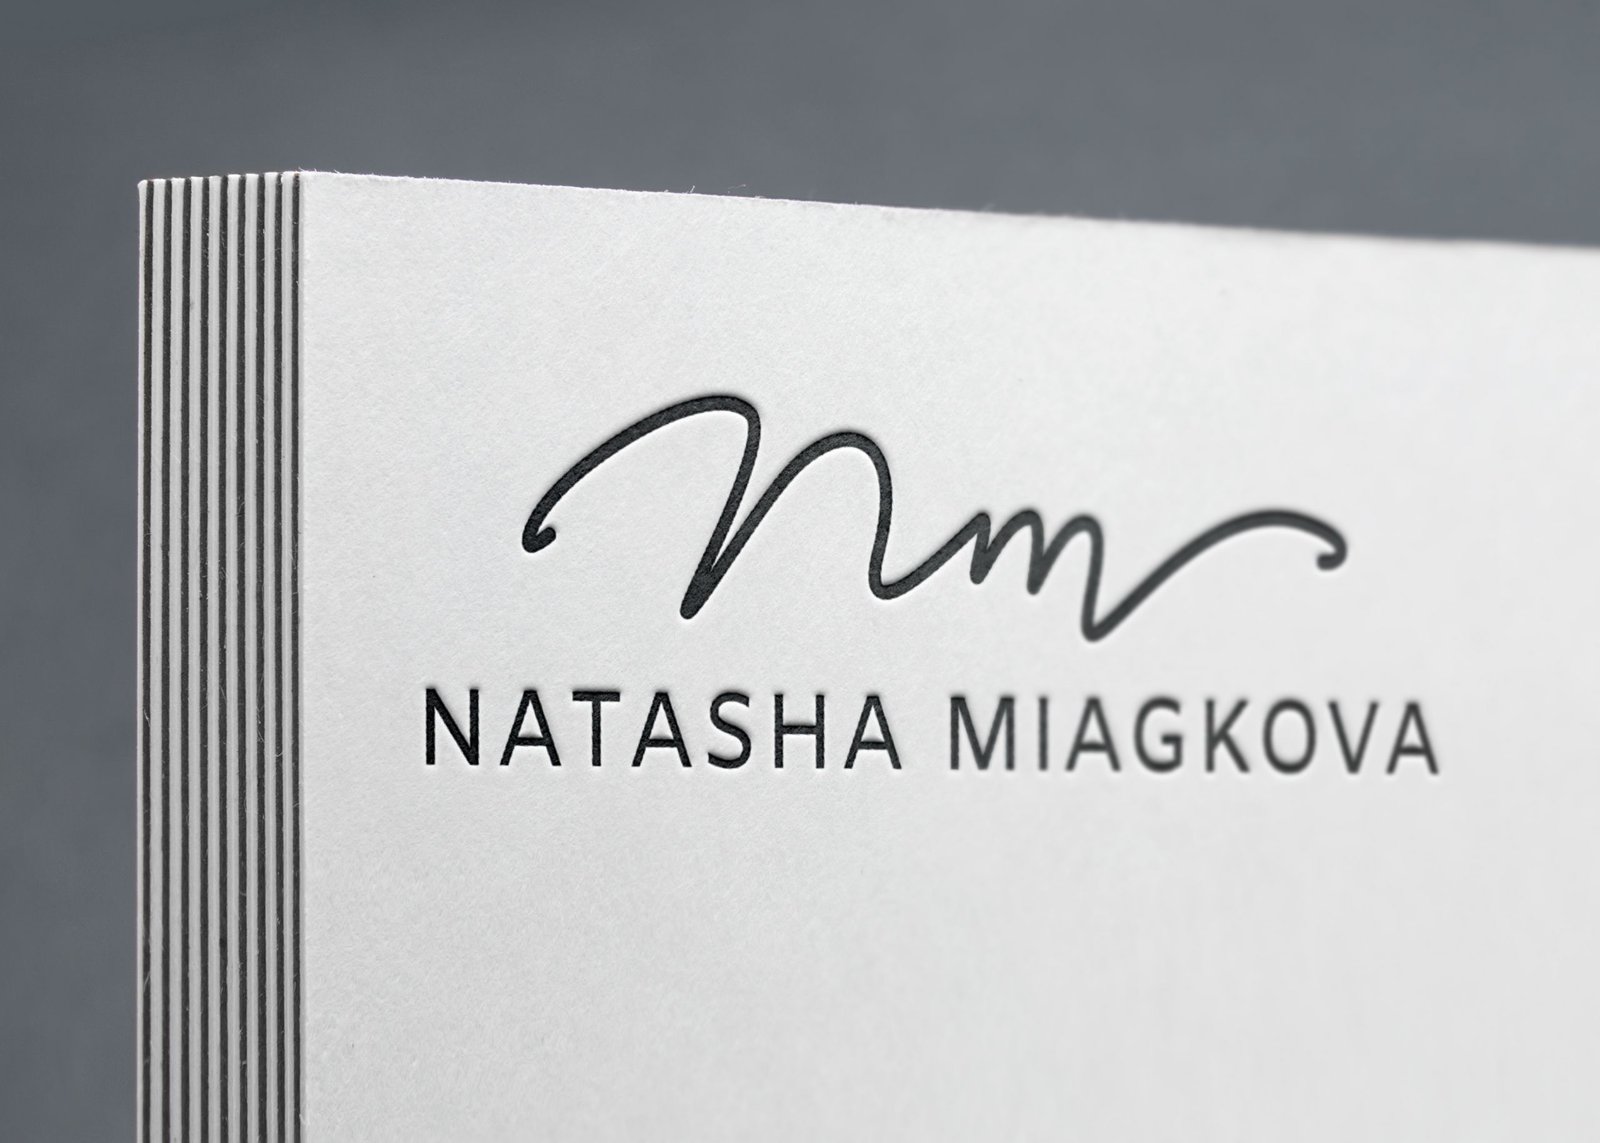
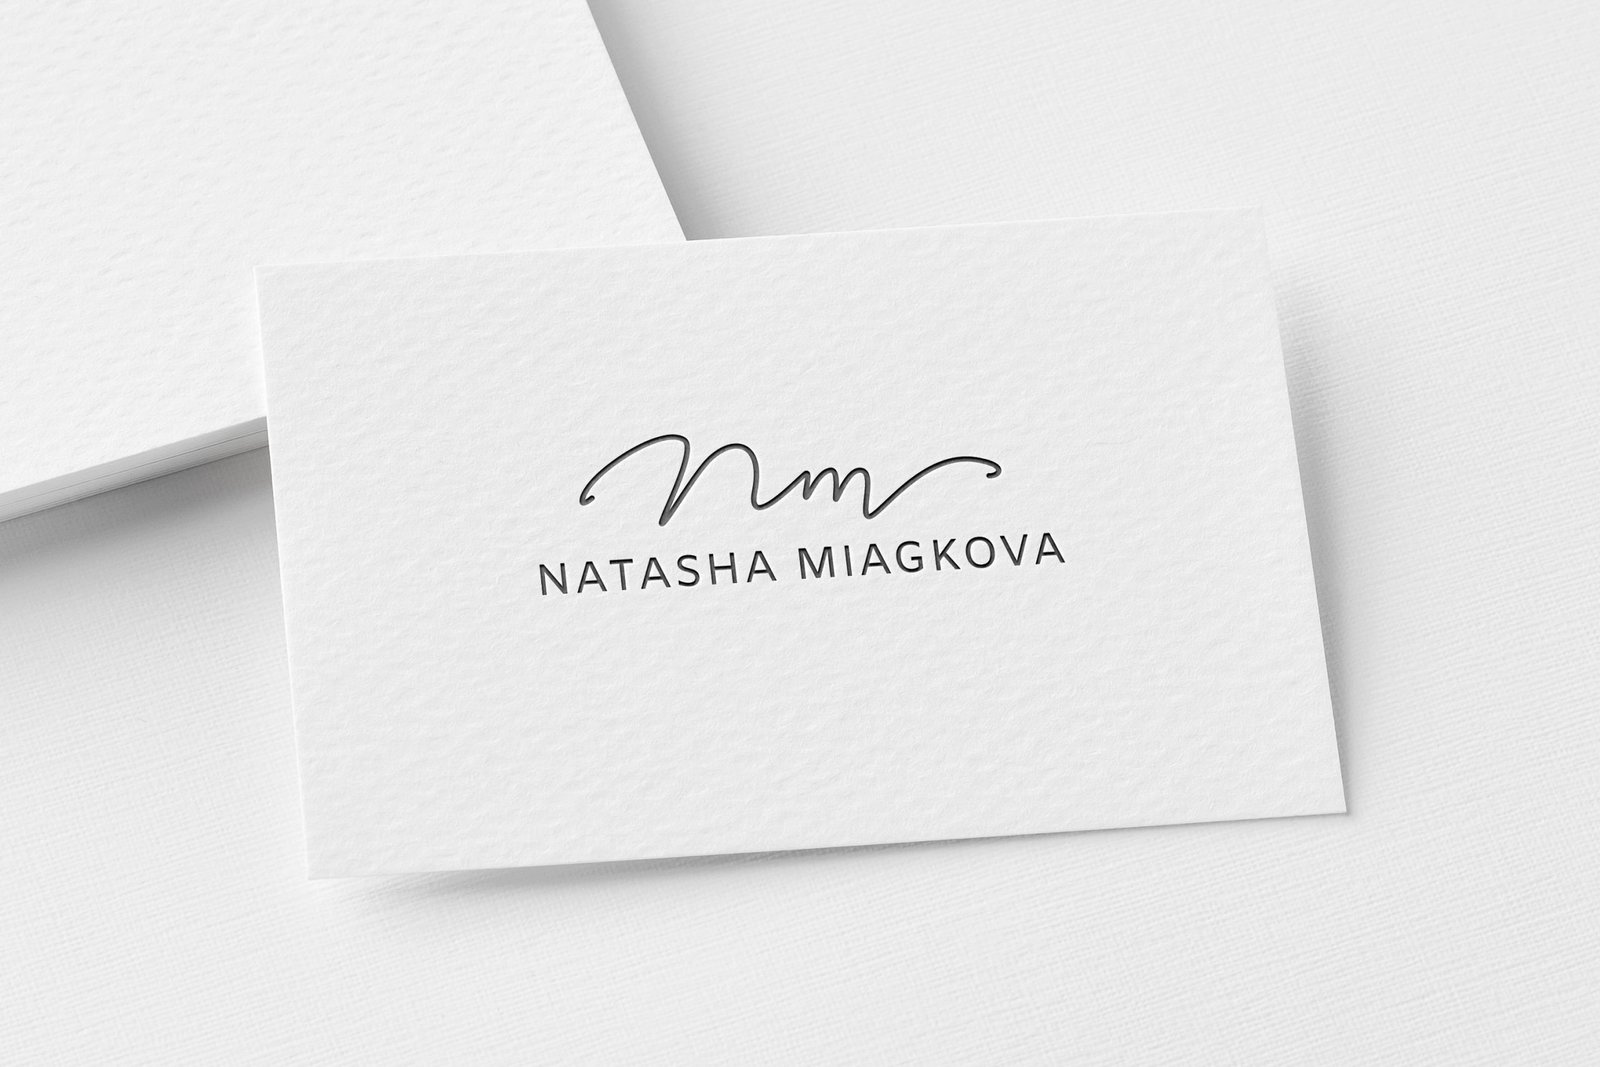
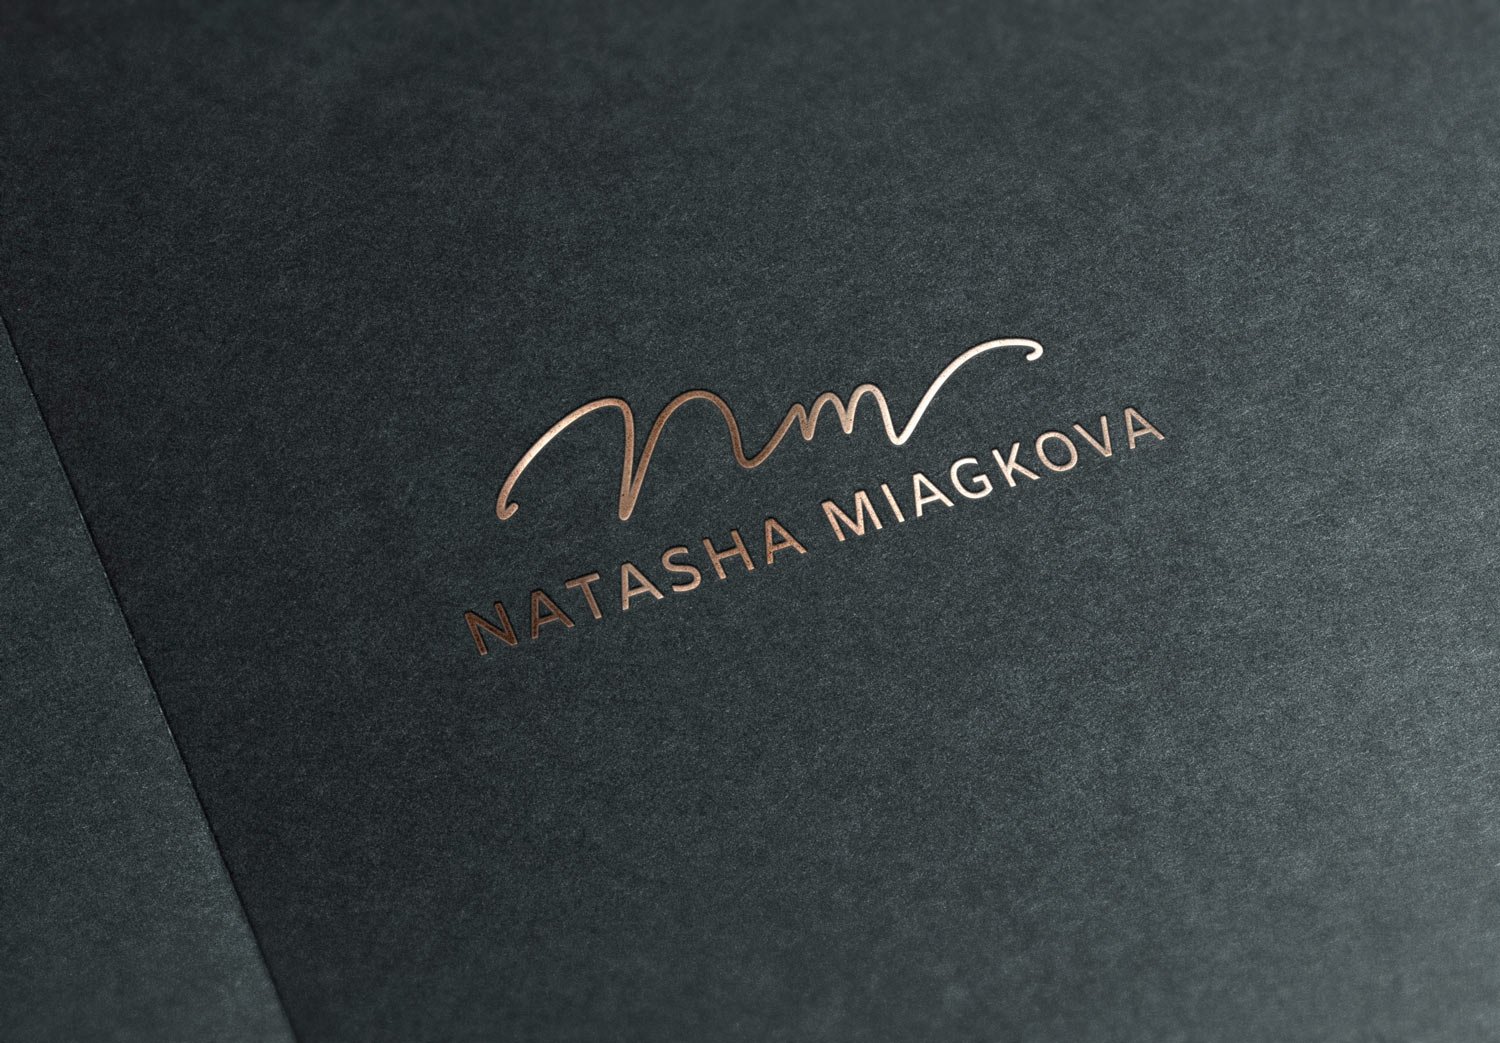
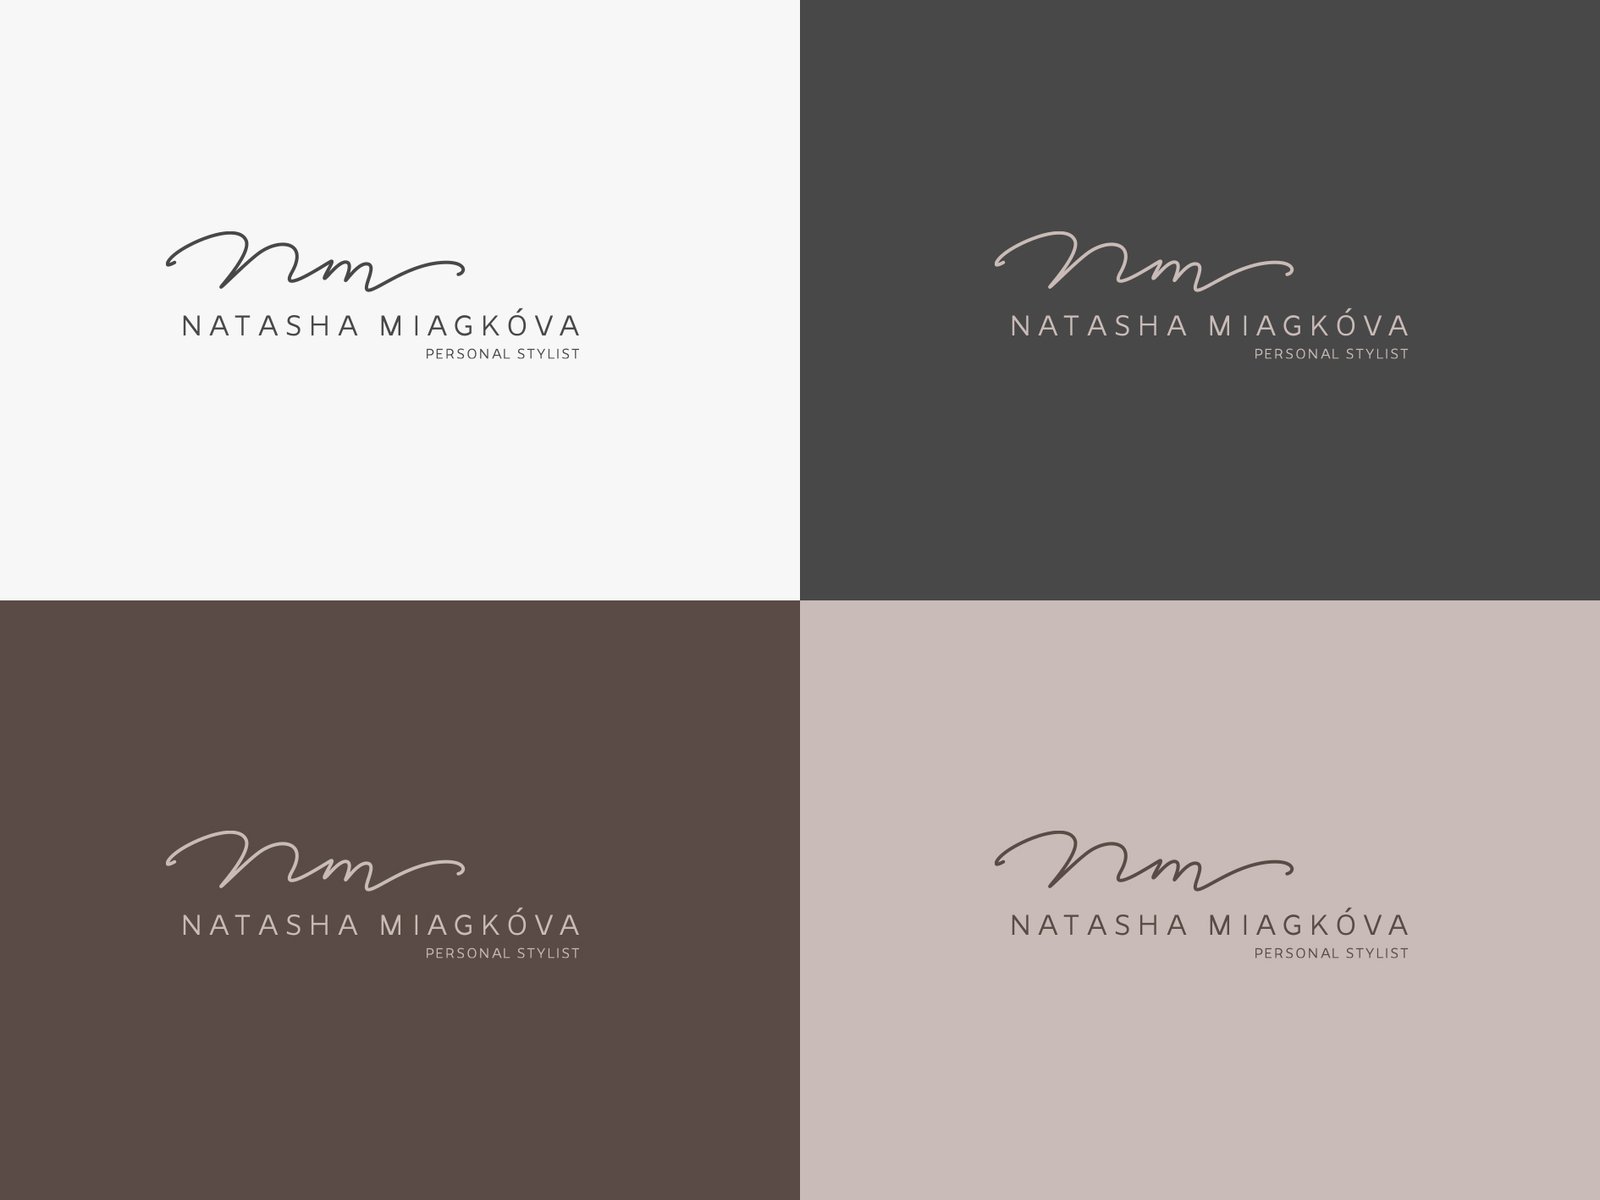
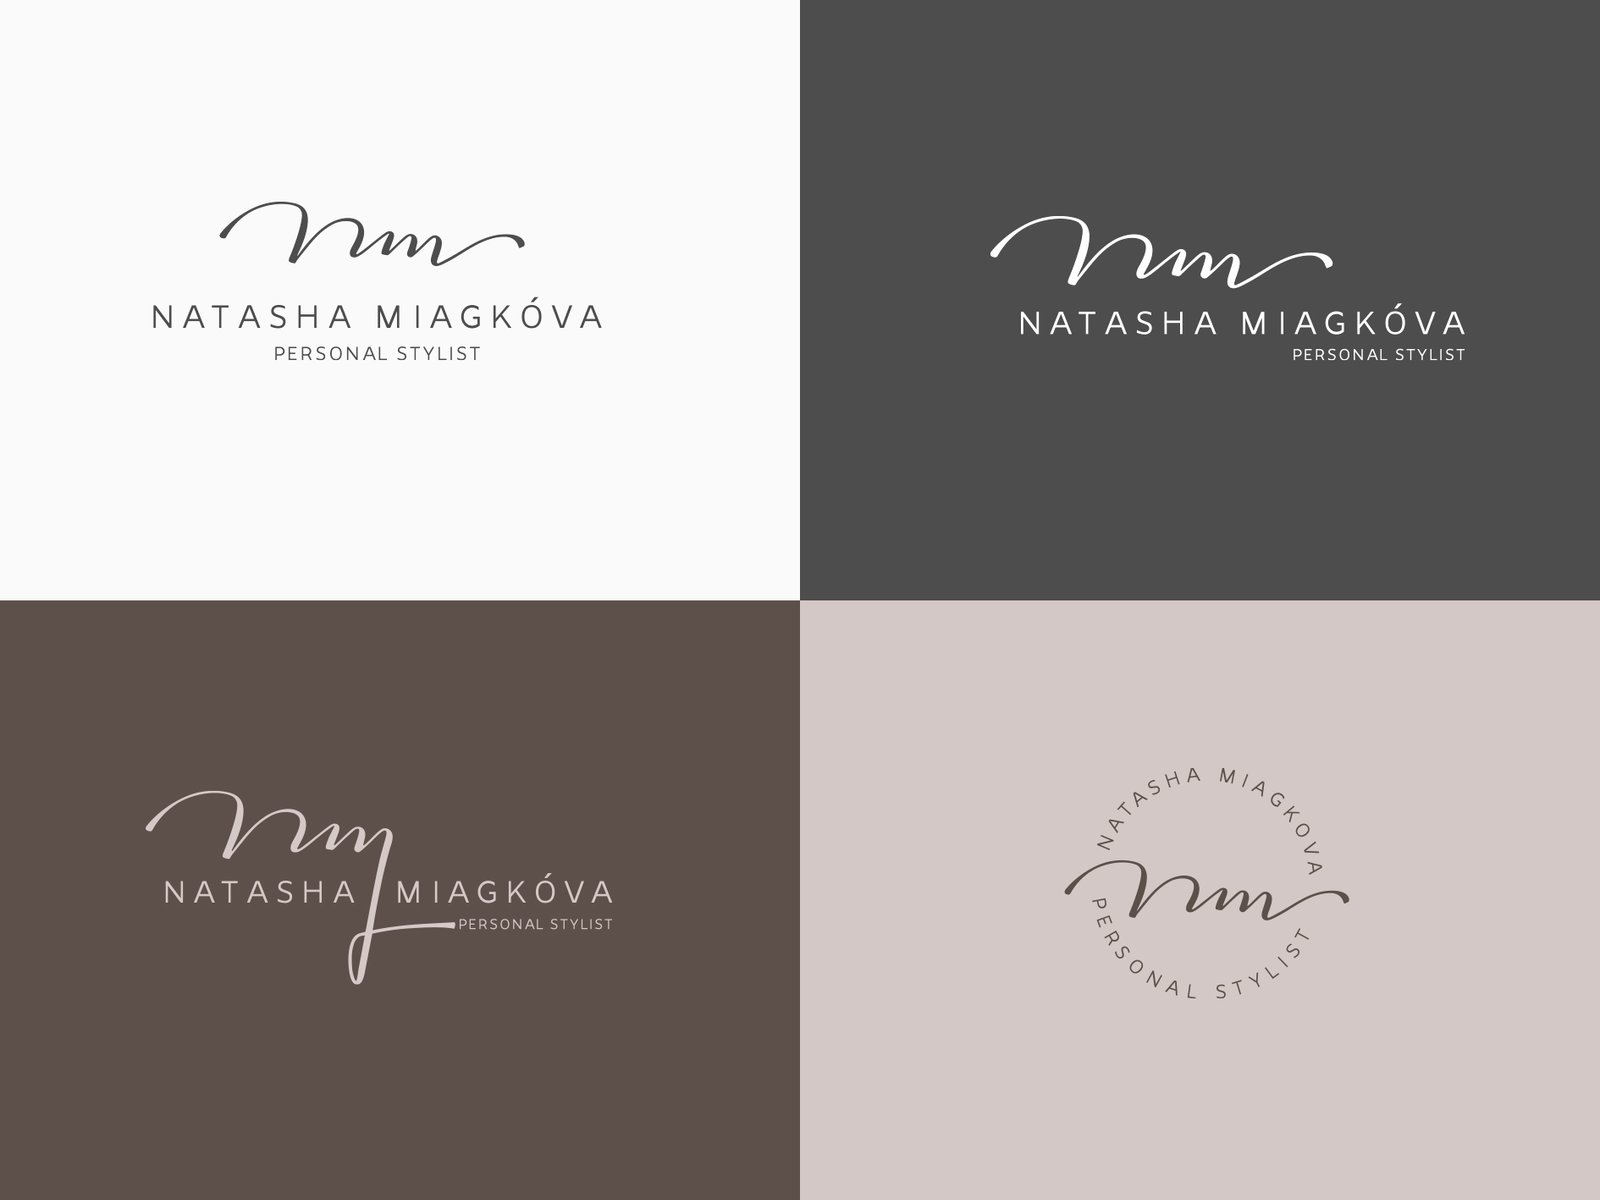
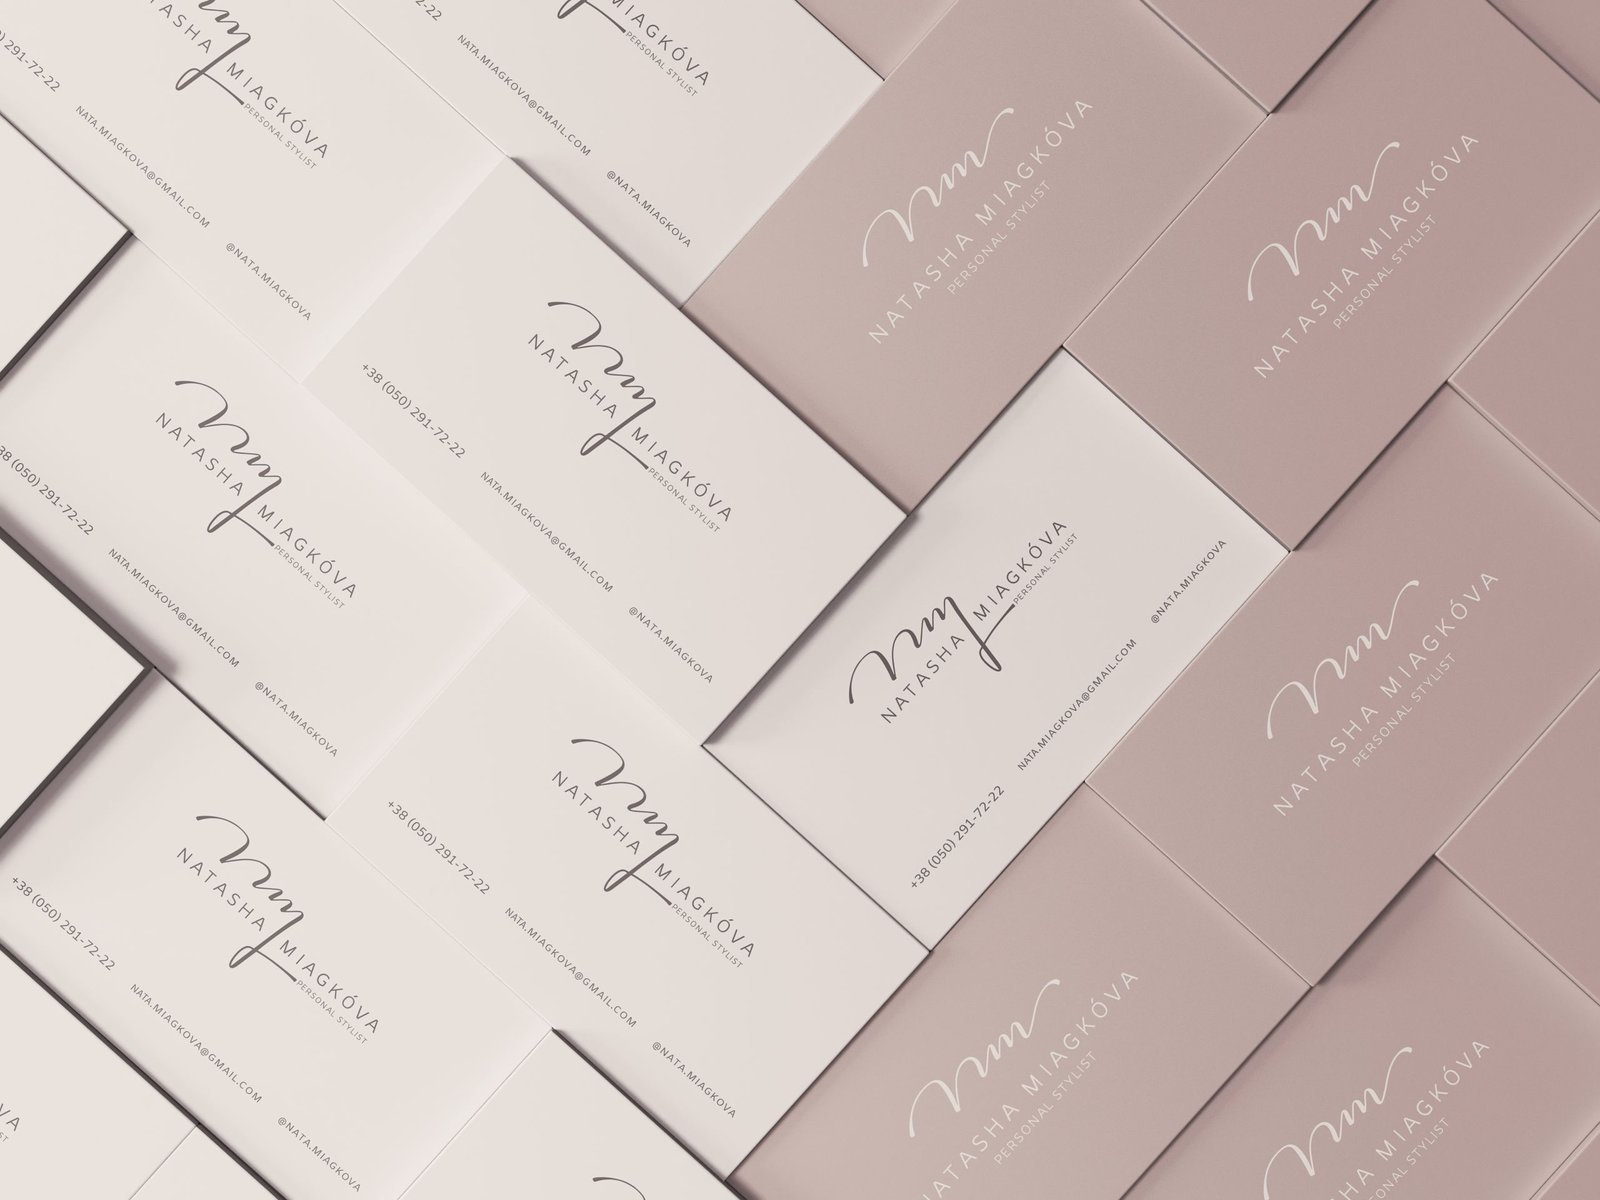
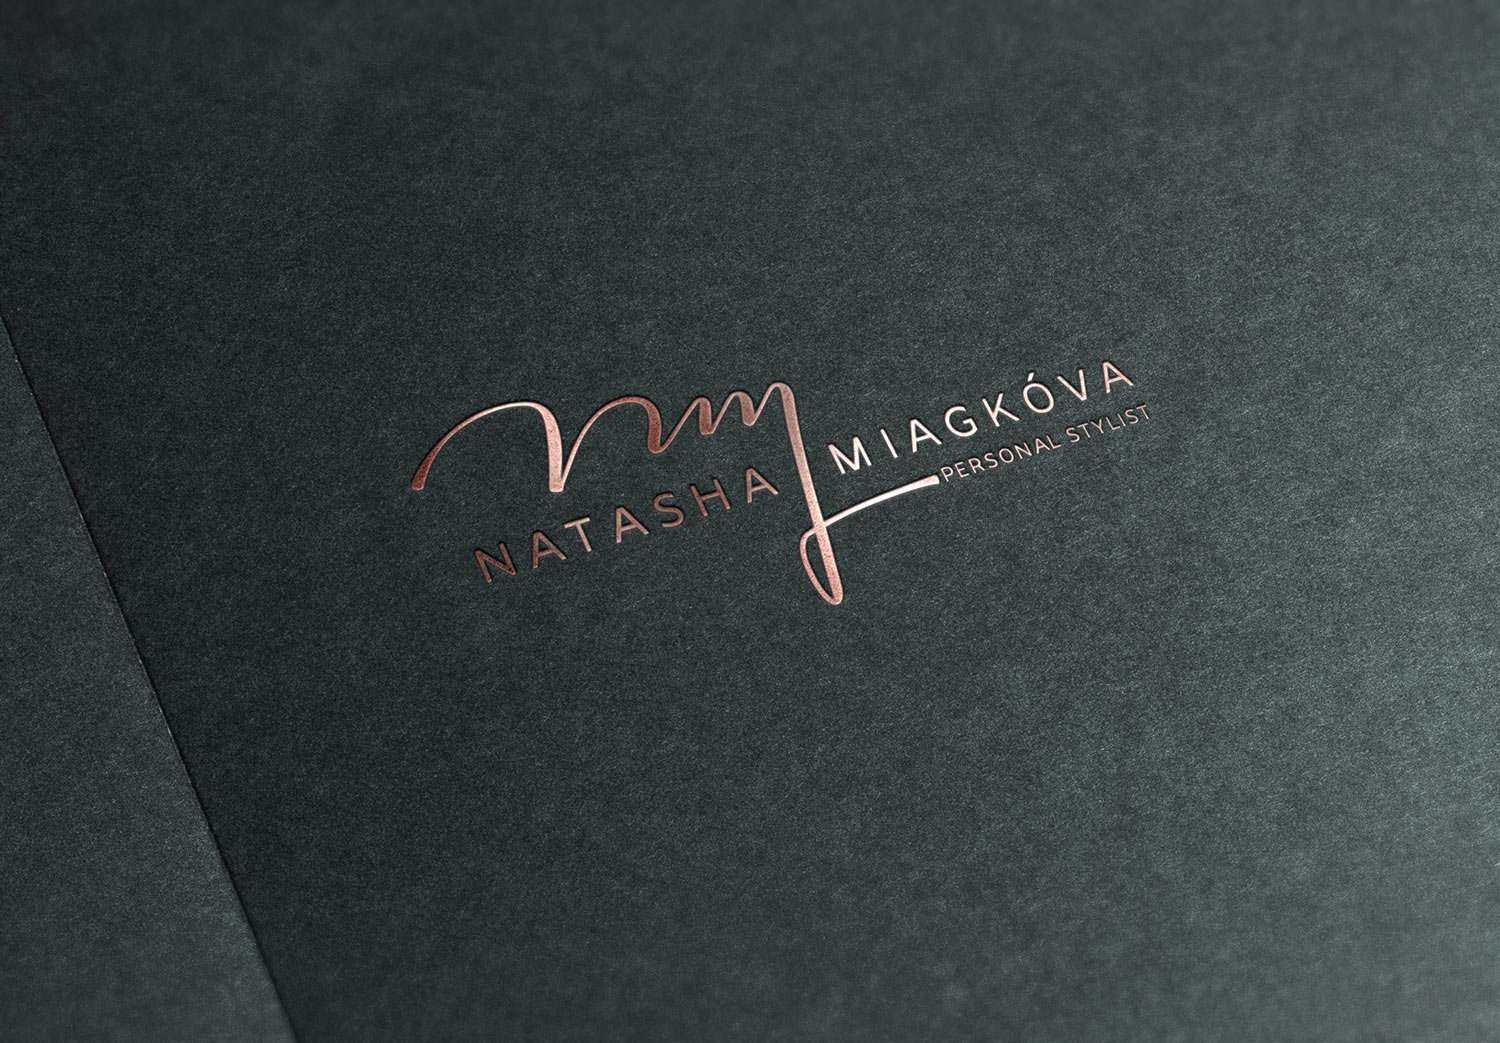
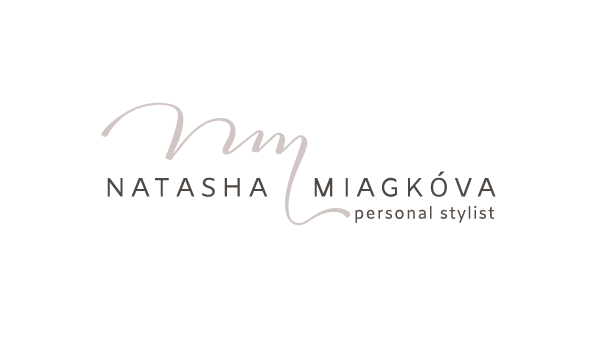
Done. Natasha accepts the job! The final result is the basic logo, the other round version and the version without the descriptor:

Final versions of the logo

What is a design brief and why is it unnecessary

A design brief is a questionnaire designers ask their clients to fill in. It may consist of five questions, or it may consist of twenty-five. Typically, designers make templates for different types of tasks. For example, a brief for a logo, a brief for corporate identity, a brief for a website, and so on. The brief contains the questions that seem important to the designer for the task.

When I started as a designer, I also made such templates but pretty quickly removed them and replaced them with human dialogue. Here’s why:

  • One brief template for two different clients will not be equally effective. The questions posed psychologically frame the client as having to answer only a specific question. Doing so may solve the task for one client but not for another. For example, the client thinks he needs a website, but an interactive catalogue for mailing better solves the task. It is impossible to figure this out at the briefing level.
  • By communicating directly and asking the same questions as in the brief, you can always add and ask the client for more detail. Depending on the task, I can ask 30–70 questions. No one will answer such a mass of questions in writing, but it is not felt in a dialogue. People like to talk about themselves and their businesses.
  • It is usually easier to call than to fill in some form with questions.

I am an introvert. Every phone call is very stressful; I find it easier to communicate in writing. But I step out of my comfort zone to understand a new client and his task. Nevertheless, it is good for me because it is the only way I grow.

Is it easier for you to communicate in person or writing? Have you ever filled out a design brief? ;-)

Earlier Ctrl + ↓