How to prepare monochrome photos for print
Following the post about preparing images for offset printing, I want to show how to prepare monochrome photos to get a beautiful rich black colour in print.
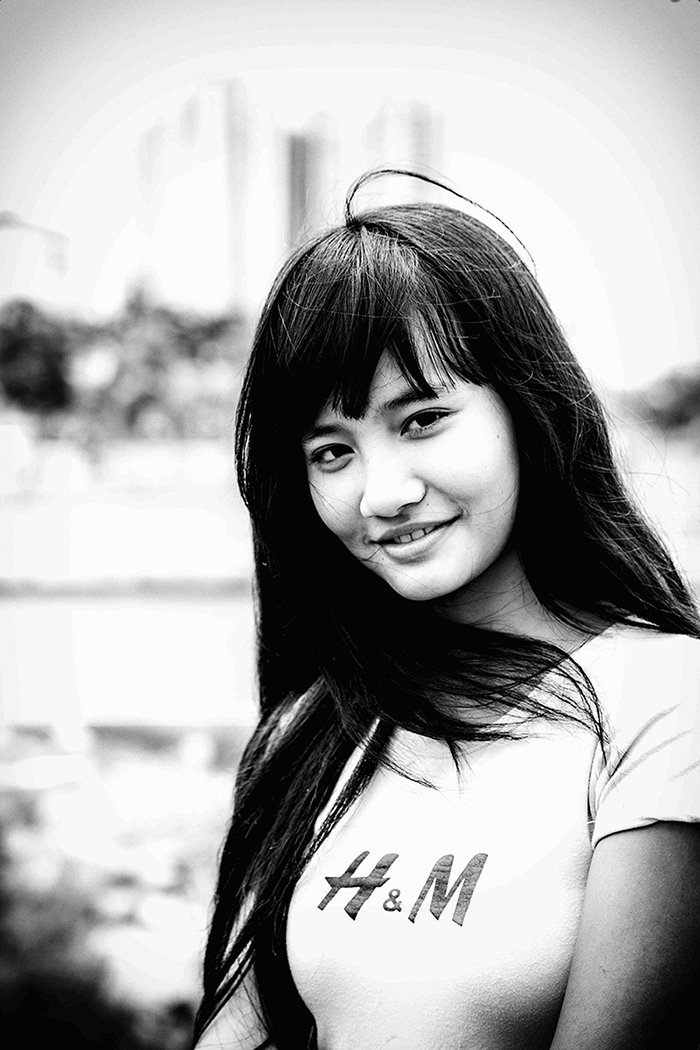
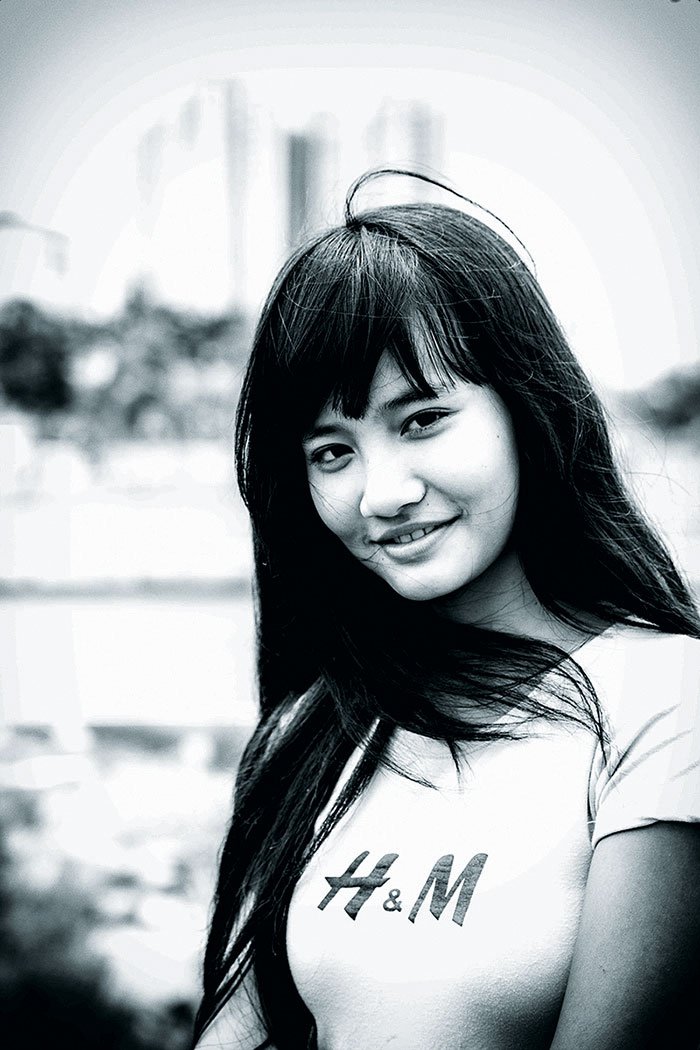
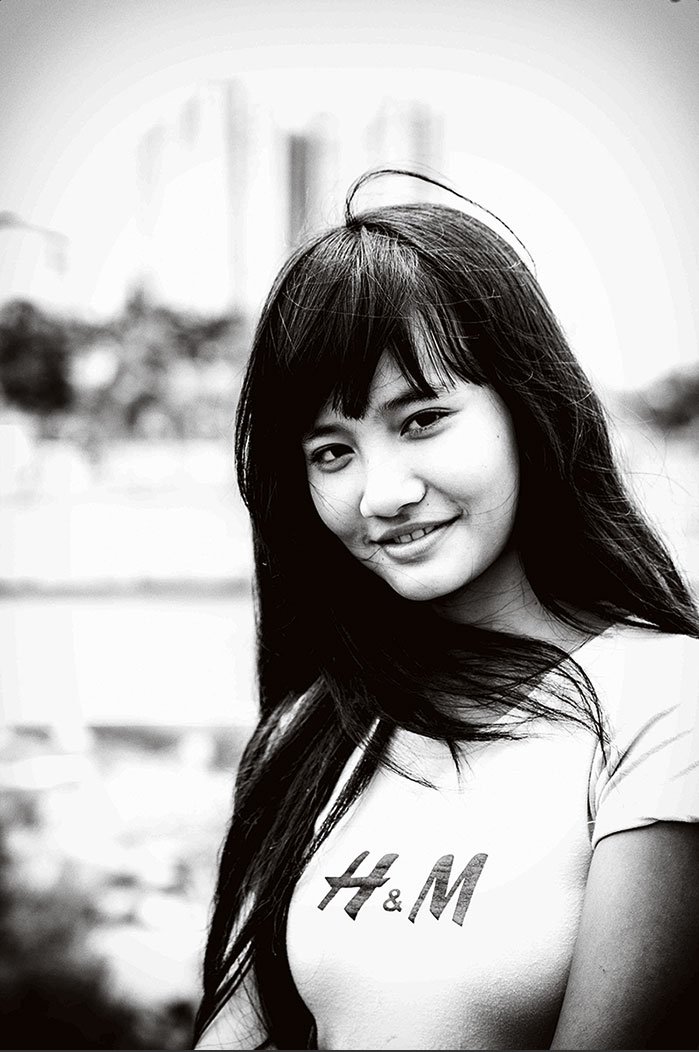
I have a picture in the RGB colour model:

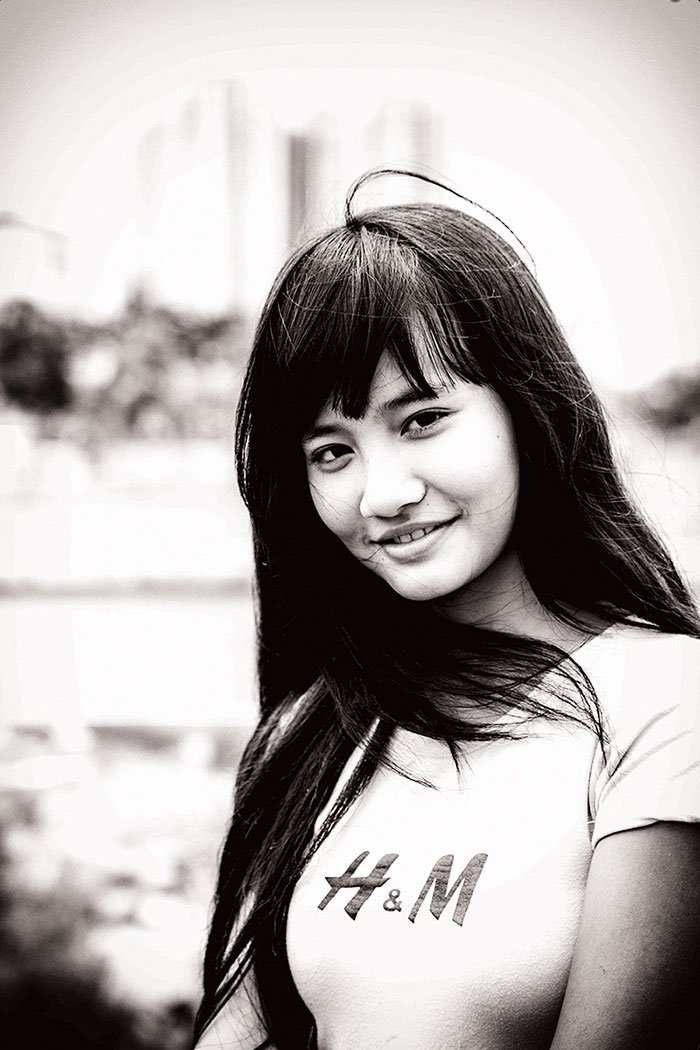
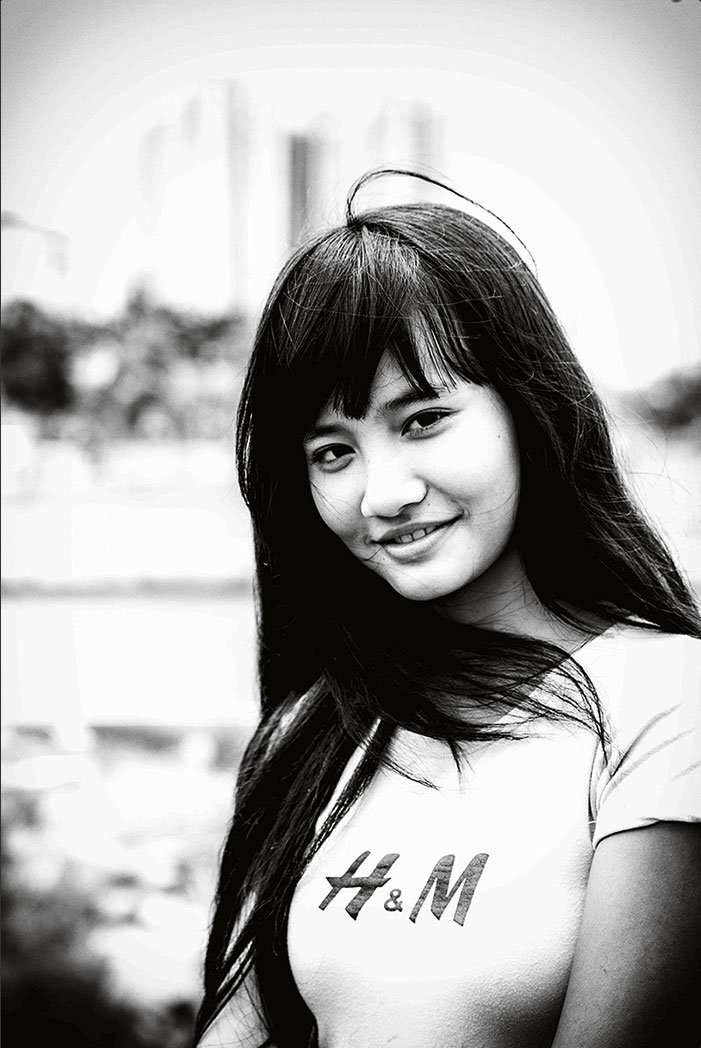
Let’s convert it from RGB to CMYK and compare:
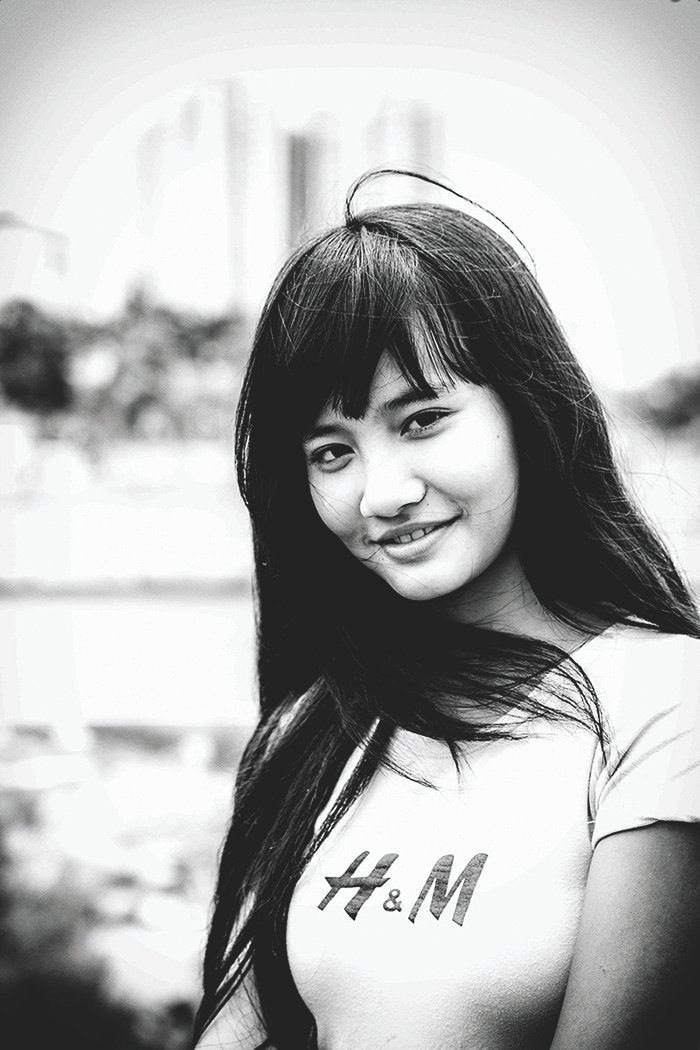
Second — CMYK
We can see that the black colour has become paler, but it’s okay, the main problem lies in the channels.
Let’s look at the Triad and Black channels separately:

The problem here is that there is always the possibility of colour variations when printing, which will result in a corresponding shade. Let’s look at an example using curves. I moved the Cyan and Magenta curve up and down:
- More blue paint
- Less blue paint
- More purple paint
- Less purple paint
Any jump in colour will tint the picture, and to avoid this, you need to transfer most of the detail in the photo to the Black channel. To do this, go into Photoshop and duplicate the image, as we will perform colour separation twice in different channels and then merge them.
We’re working with the first copy now. Convert the picture to CMYK and create a Channel Mixer adjustment layer to move the Triad colours into the Black:
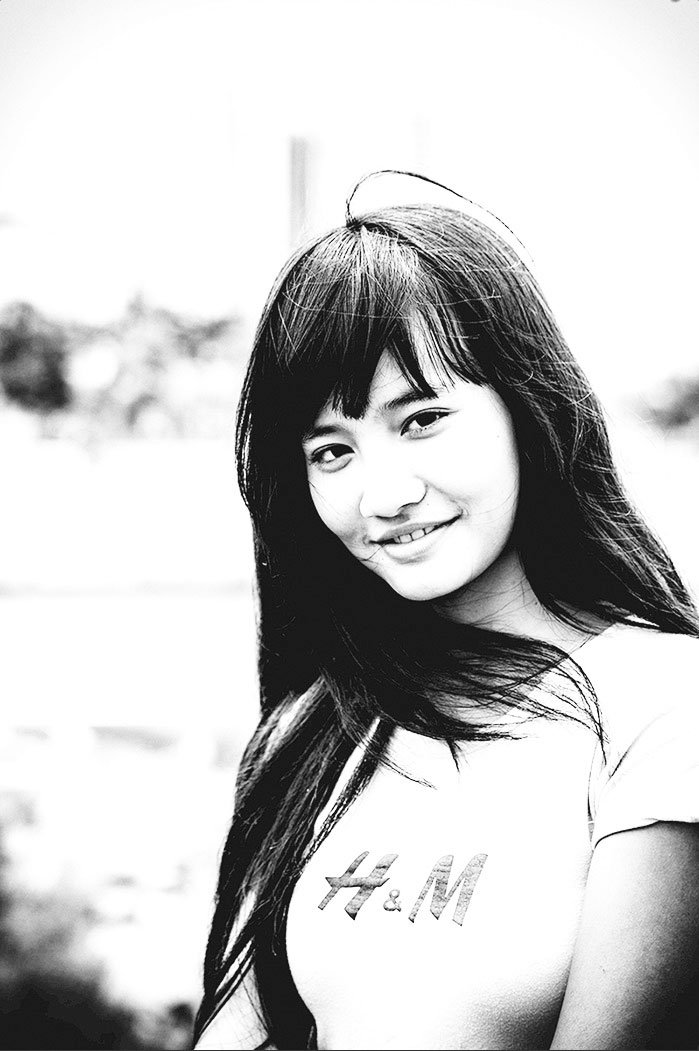
Turn off the Black channel and see what we get at the Triad:

The Triad underlay became lighter and less detailed.
Open a second copy of the image and convert it to CMYK but with maximum black generation. To do this, you need to create an appropriate colour profile — go to Edit → Color Settings and create a new CMYK profile with the settings:
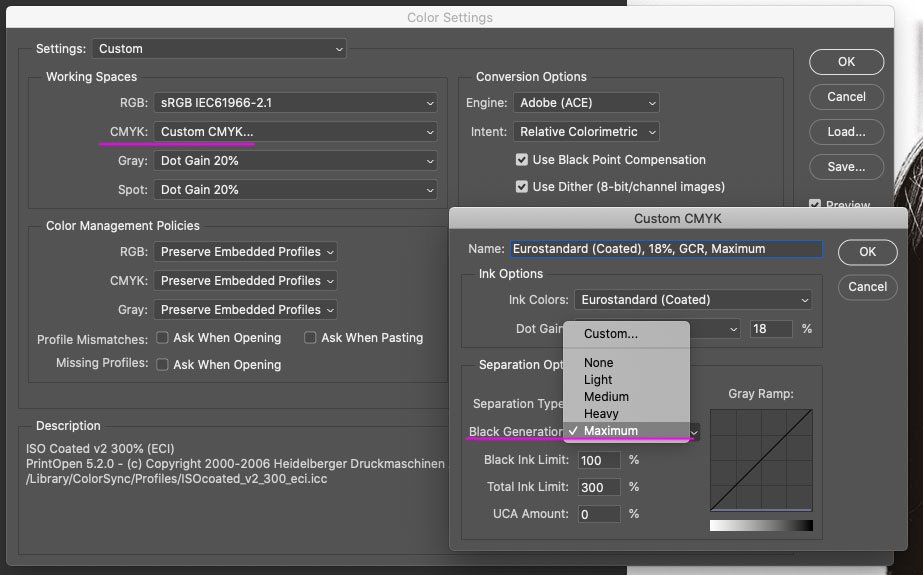
Convert the picture to CMYK with maximum black generation — Edit → Convert to Profile → select the created profile and look at the picture in the black channel:
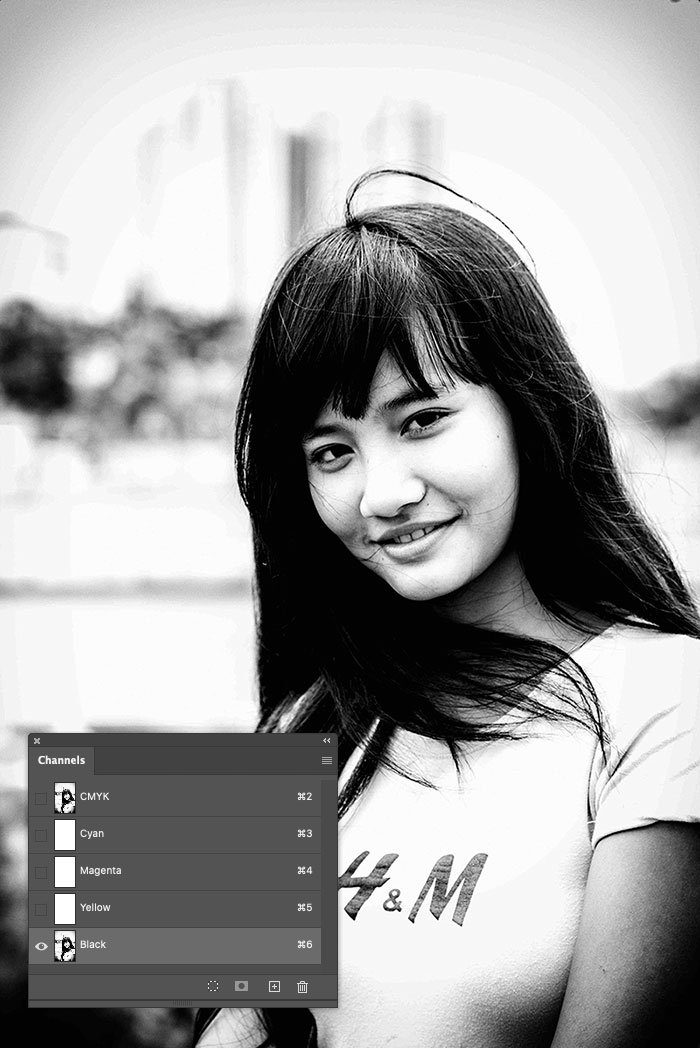
You can see that the entire picture has gone into the black channel. Now we need to merge it with the already prepared triad substrate. Open the first file and create a new layer there. Go to Image → Apply Image and copy only the black channel from the second file:
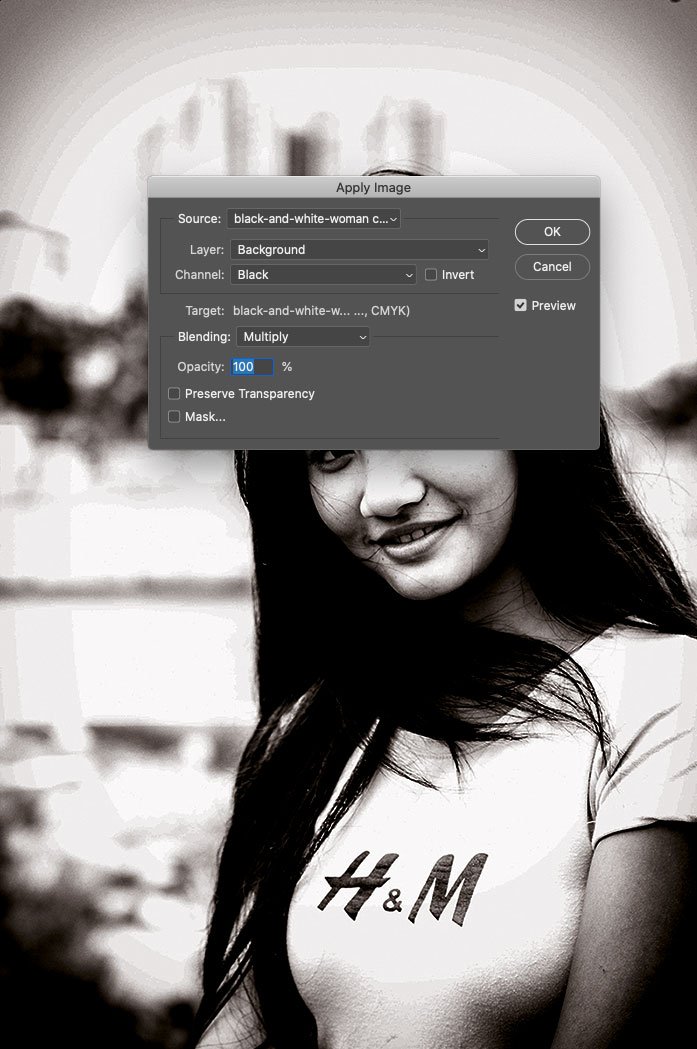
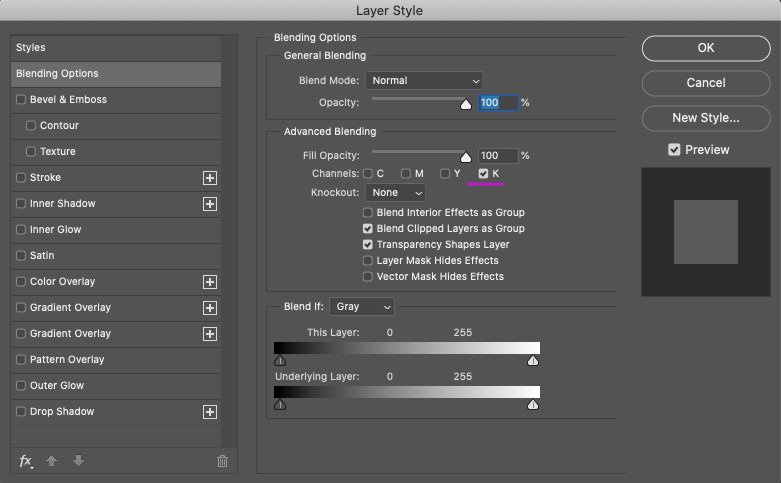
The result is a black mess, and to fix it, you have to enable this layer to be displayed in the black channel only:
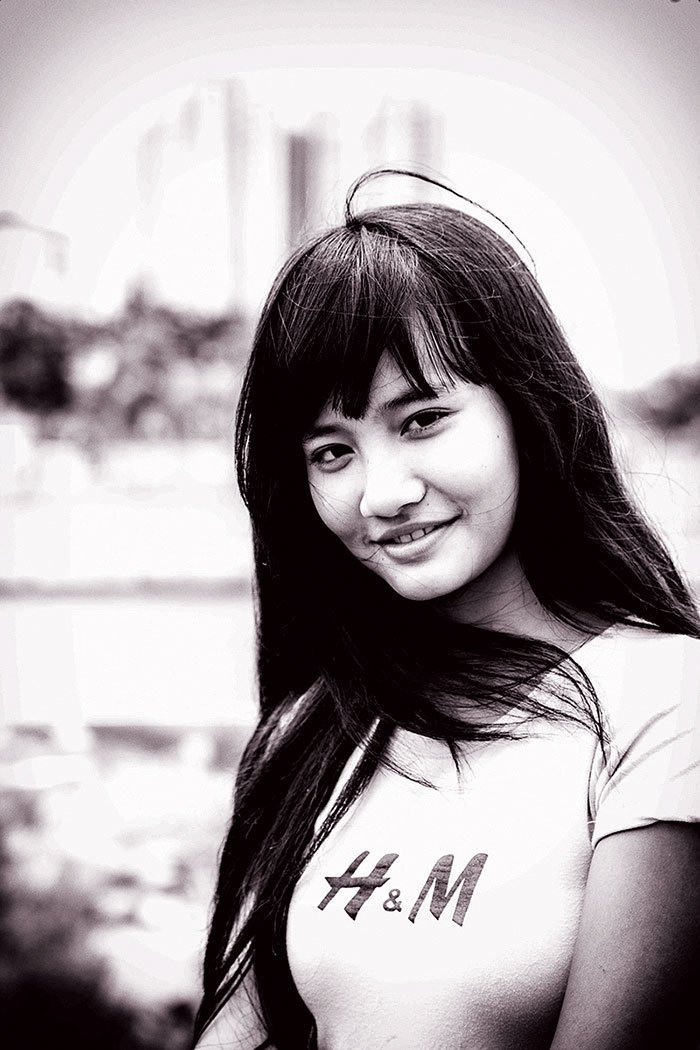
Let’s compare the result with the RGB picture:
You can see that in CMYK, the picture has a brownish tint, but this can easily be corrected in the Channel Mixer adjustment layer that has already been created:
For interest, I move the curve to see how the picture changes with paint fluctuation:
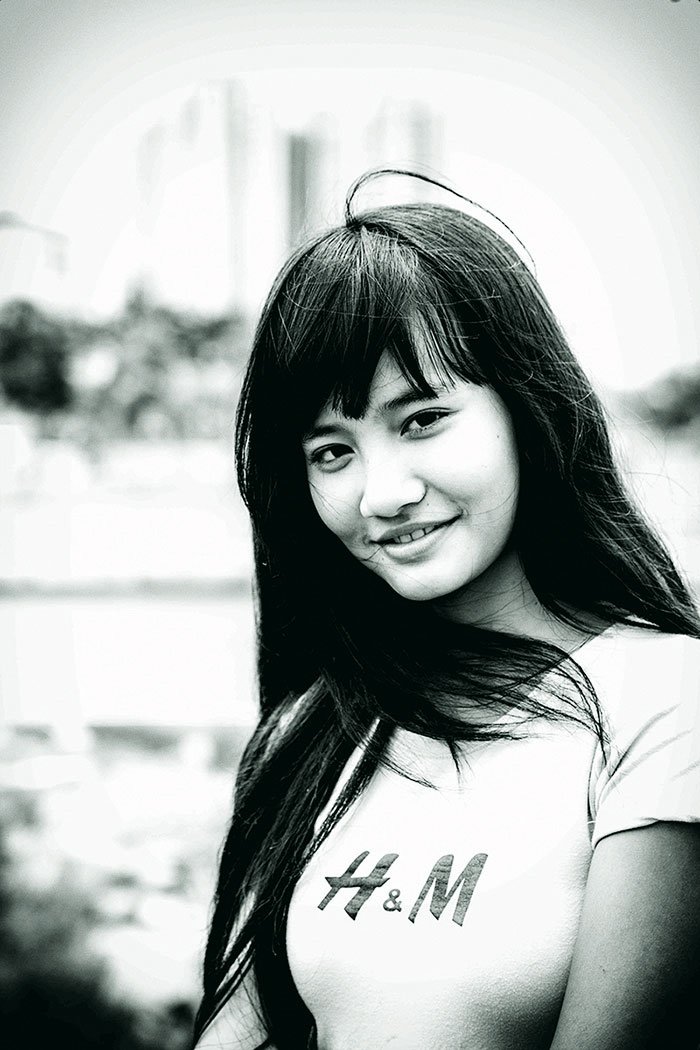
So, you get an image with saturated black that looks as good in print as it does on the screen.
Some may decide to print monochrome in one colour with pure black but do not do so. The result will be a pale and most likely grainy image.
This treatment is appropriate for monochrome and mixed images with a colour part and a large monochrome area. In that case, combine the Channel Mixer adjustment layer and the Black Channel layer into a single folder and set it to only display a mask on the monochrome parts of the image.